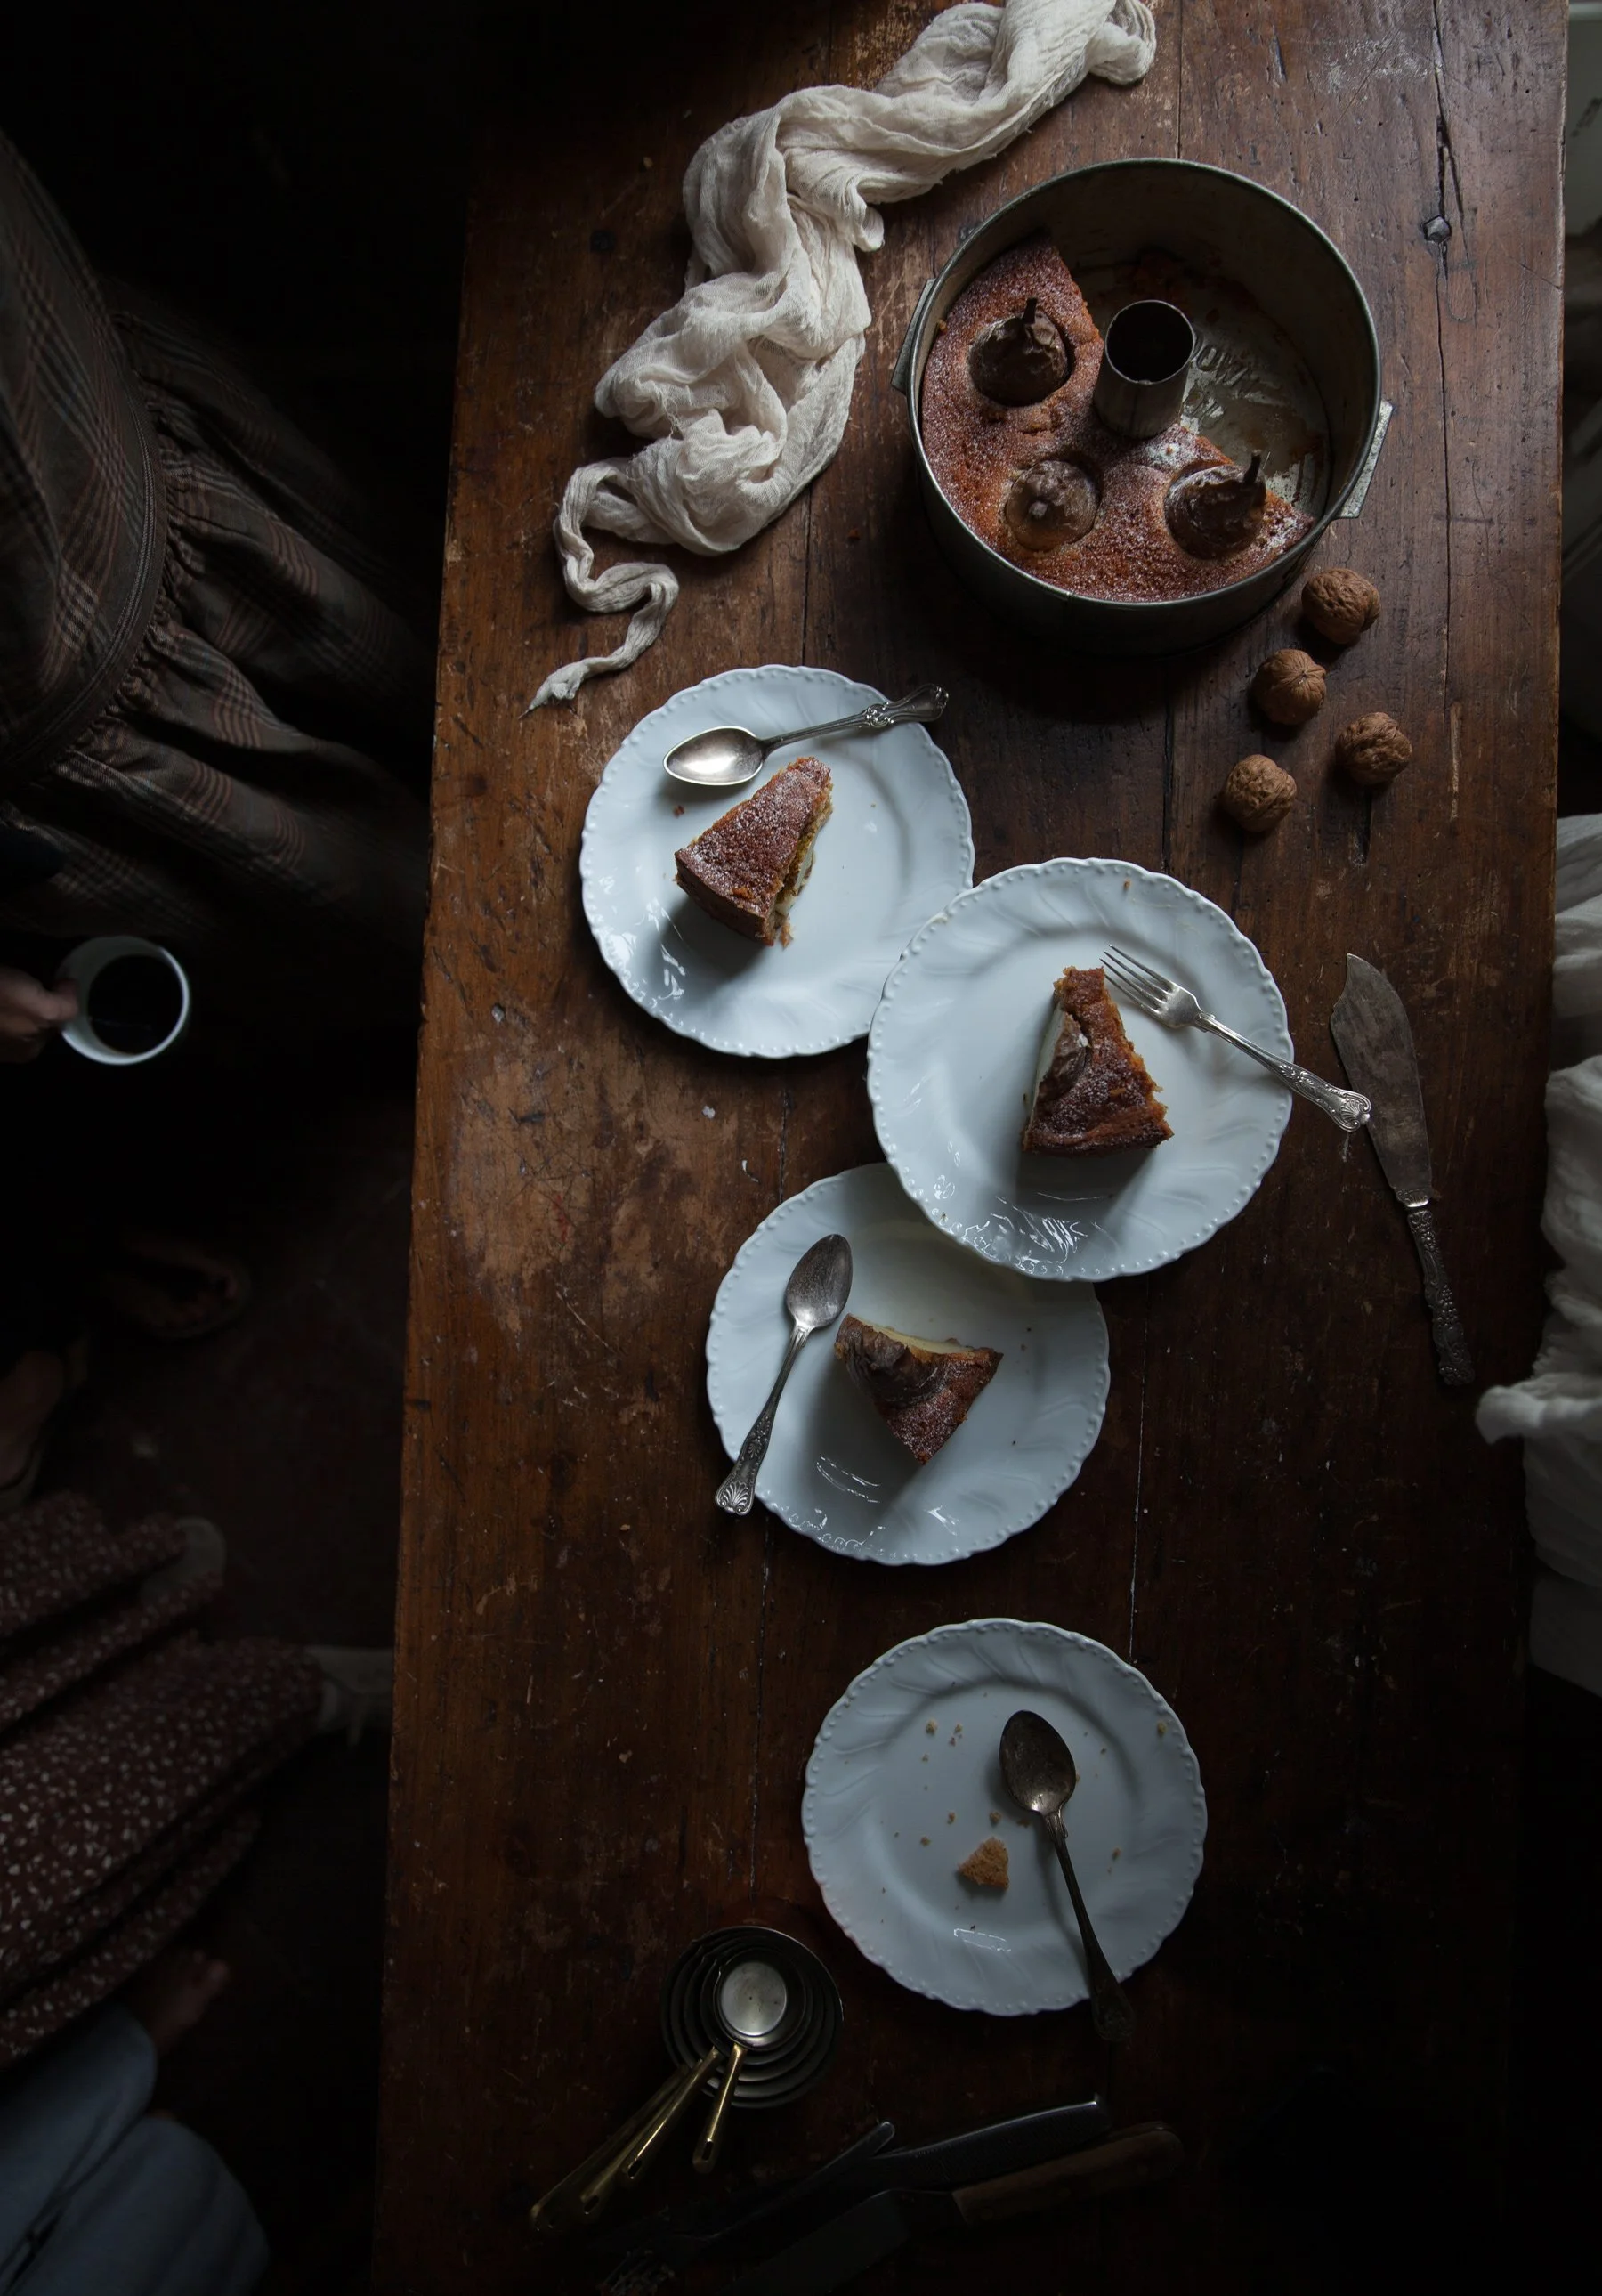
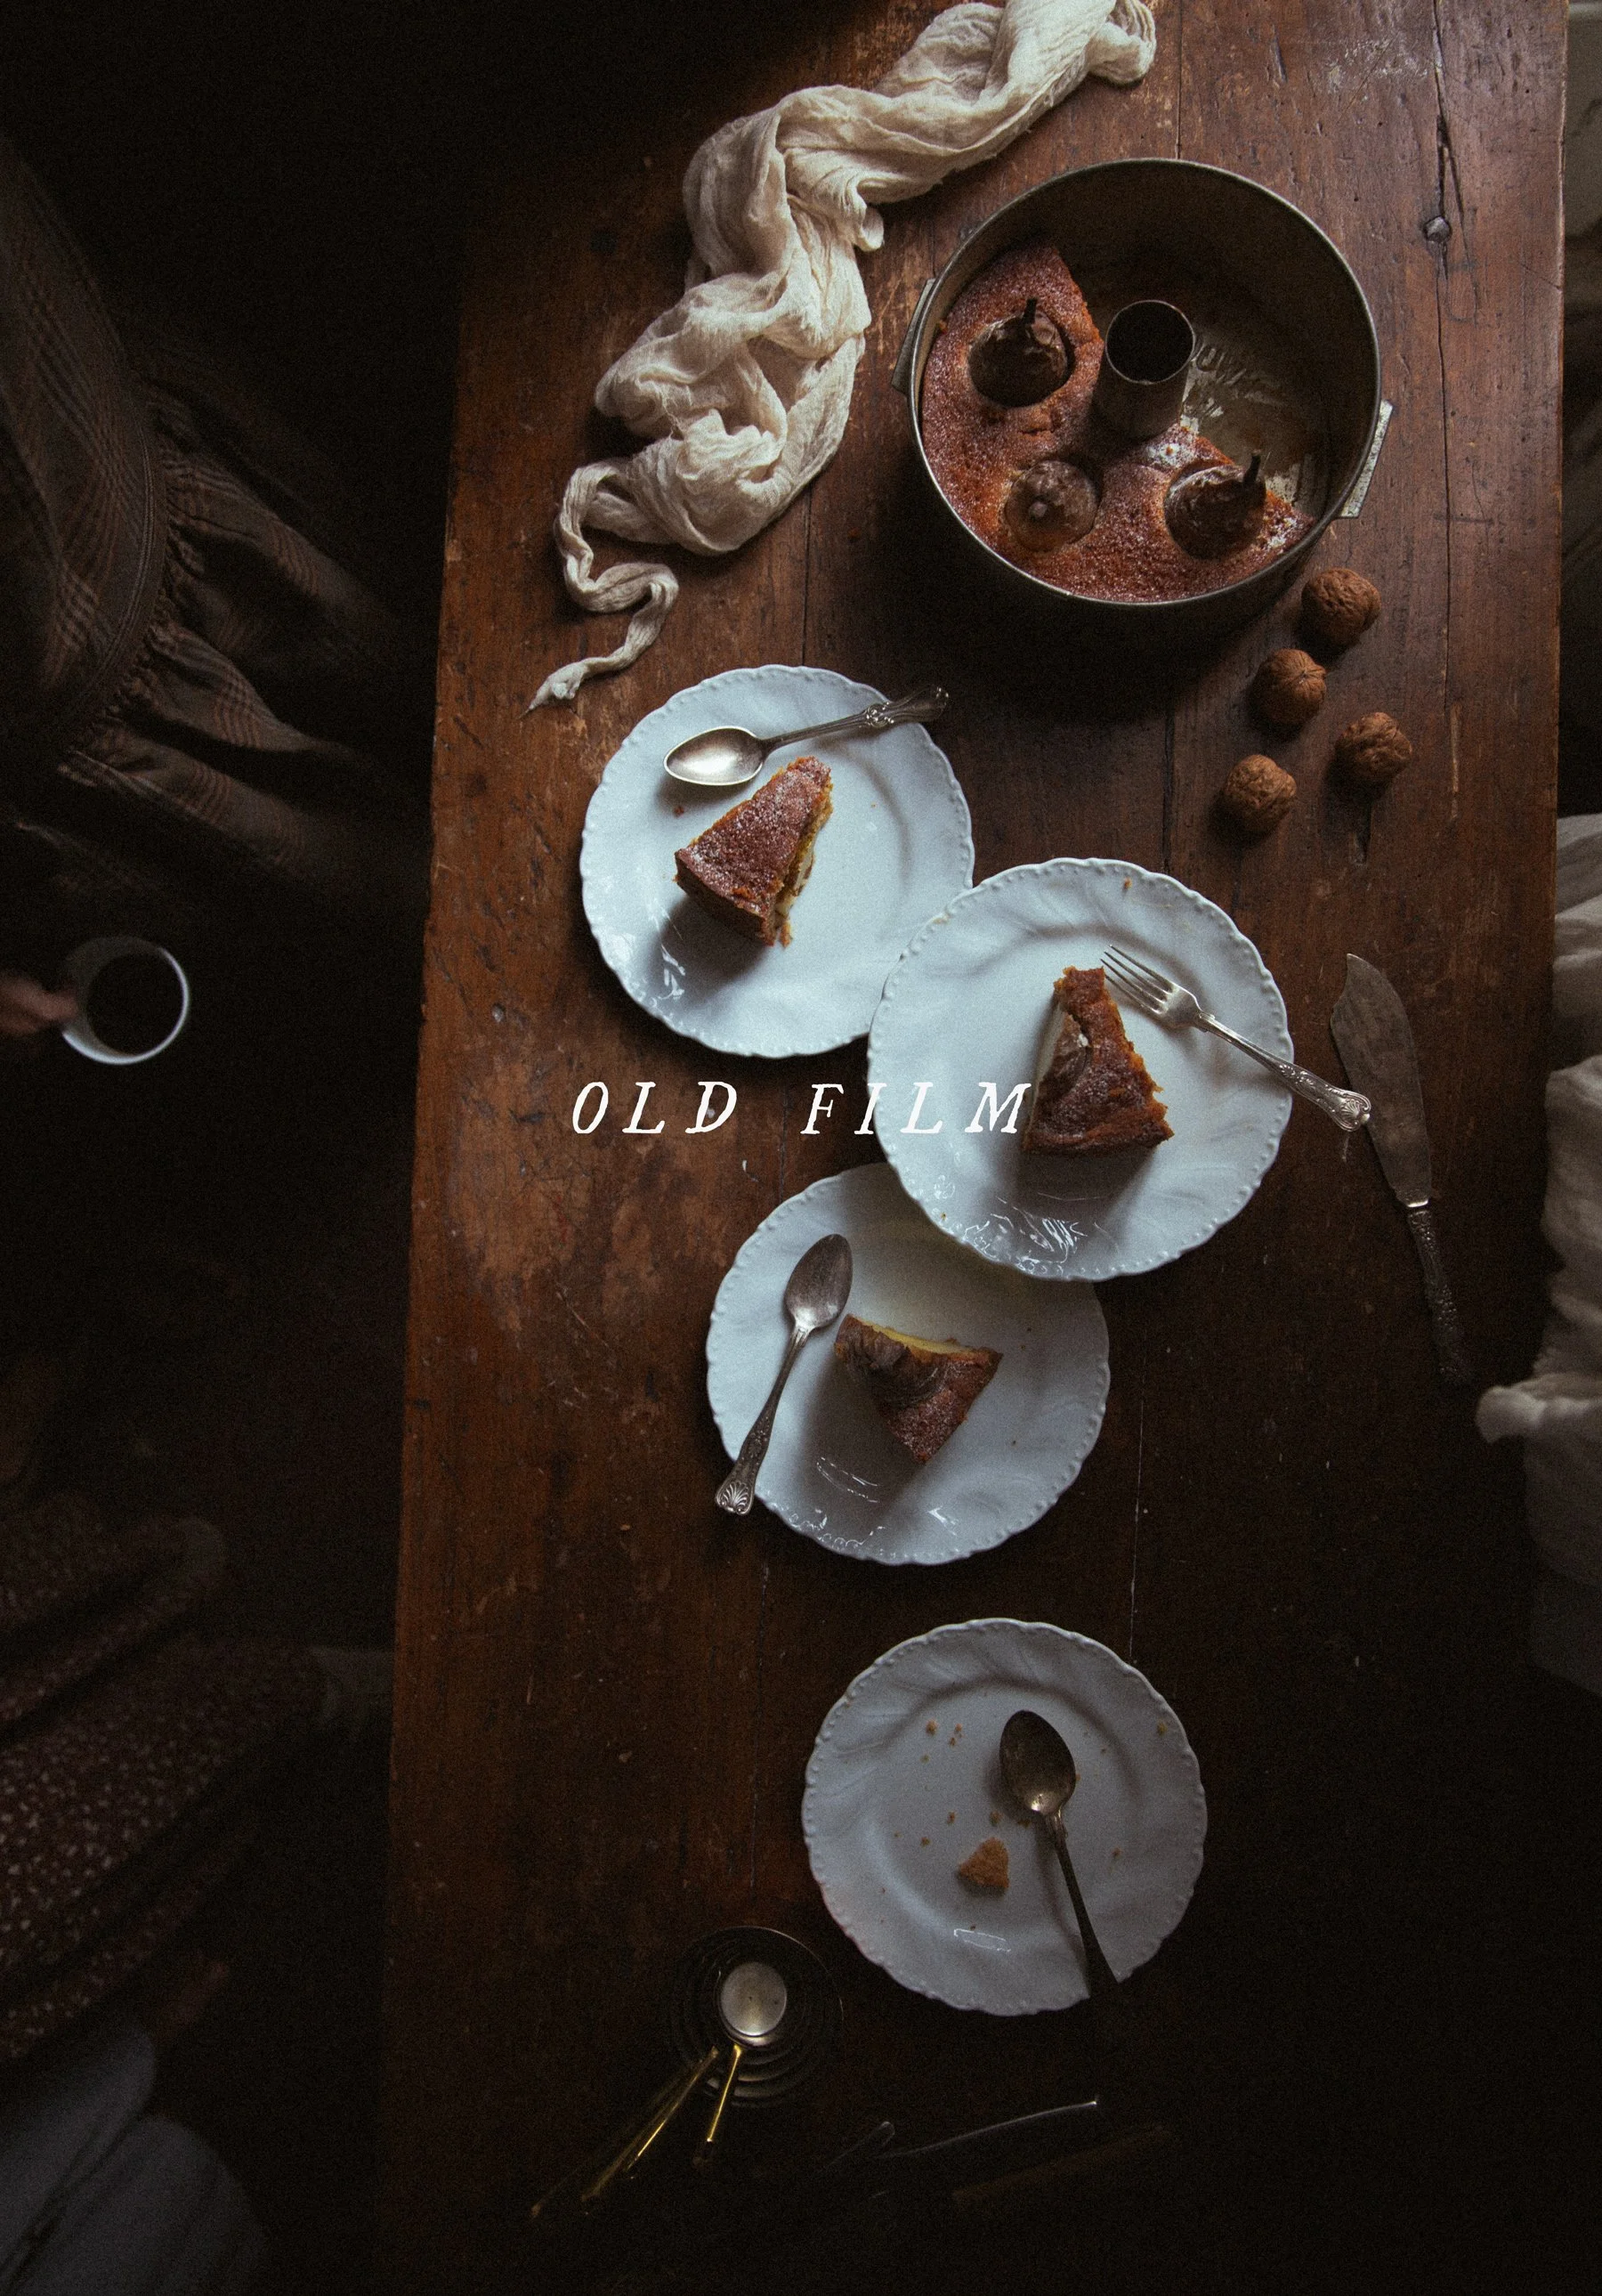
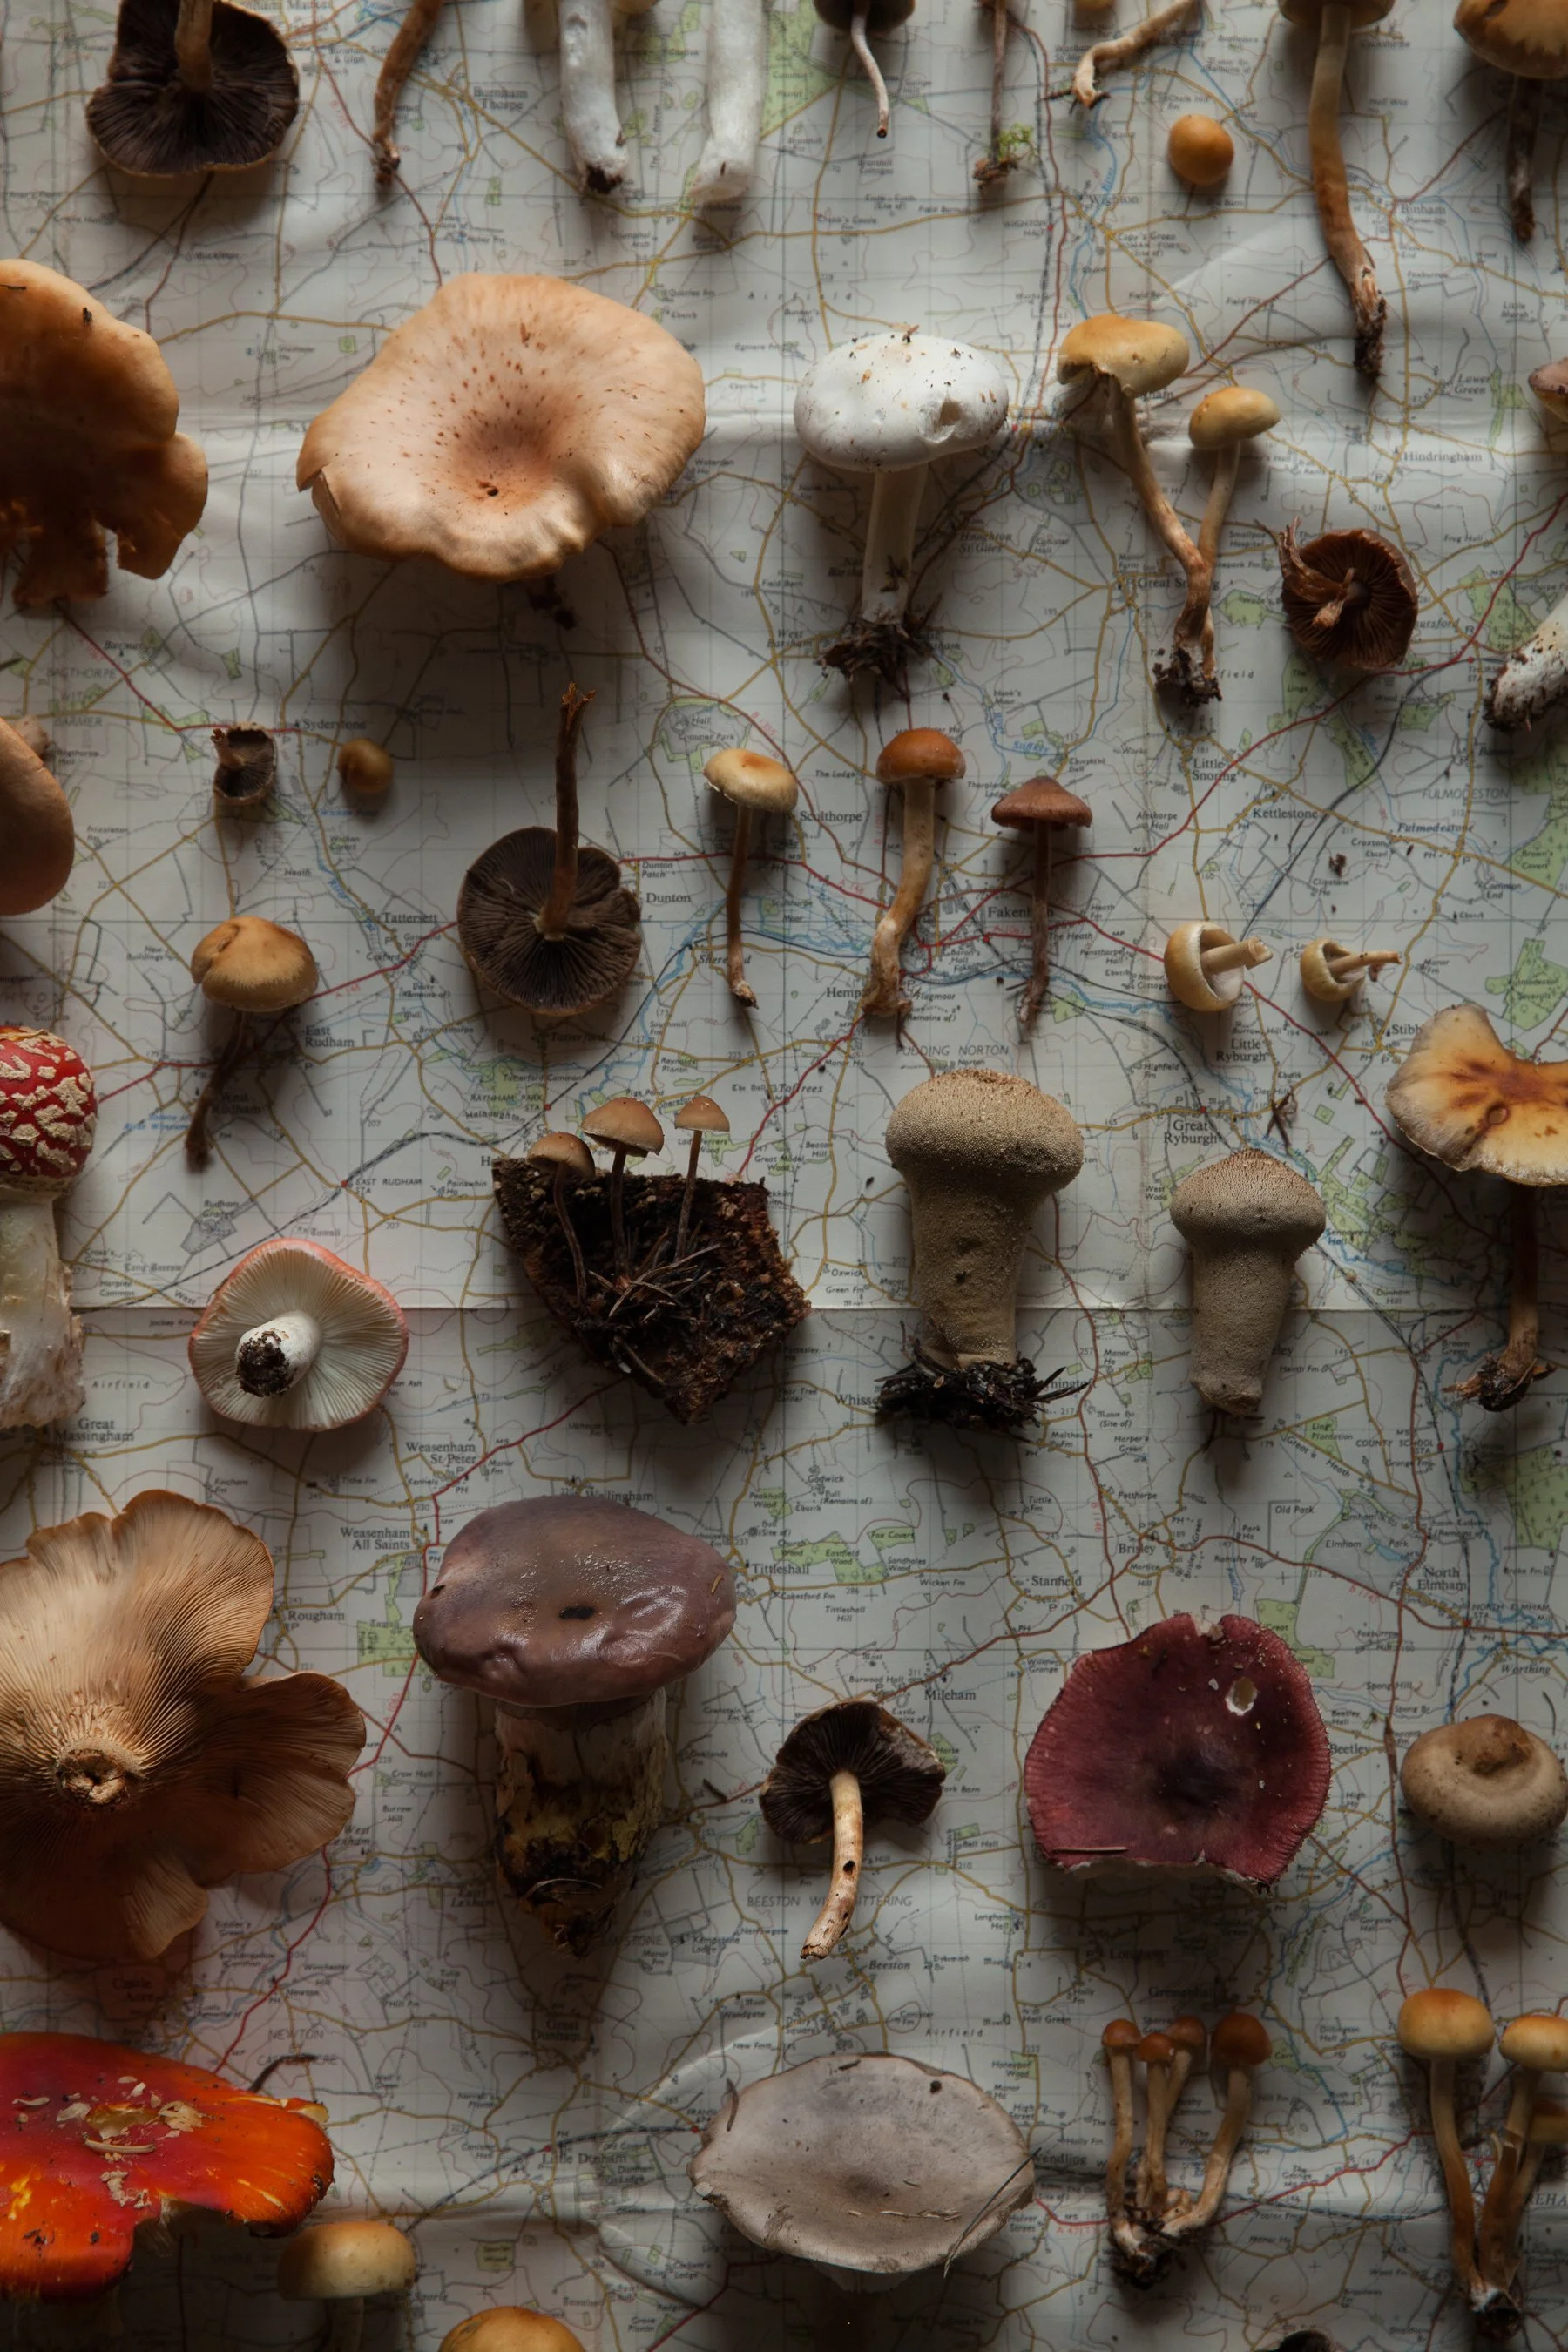
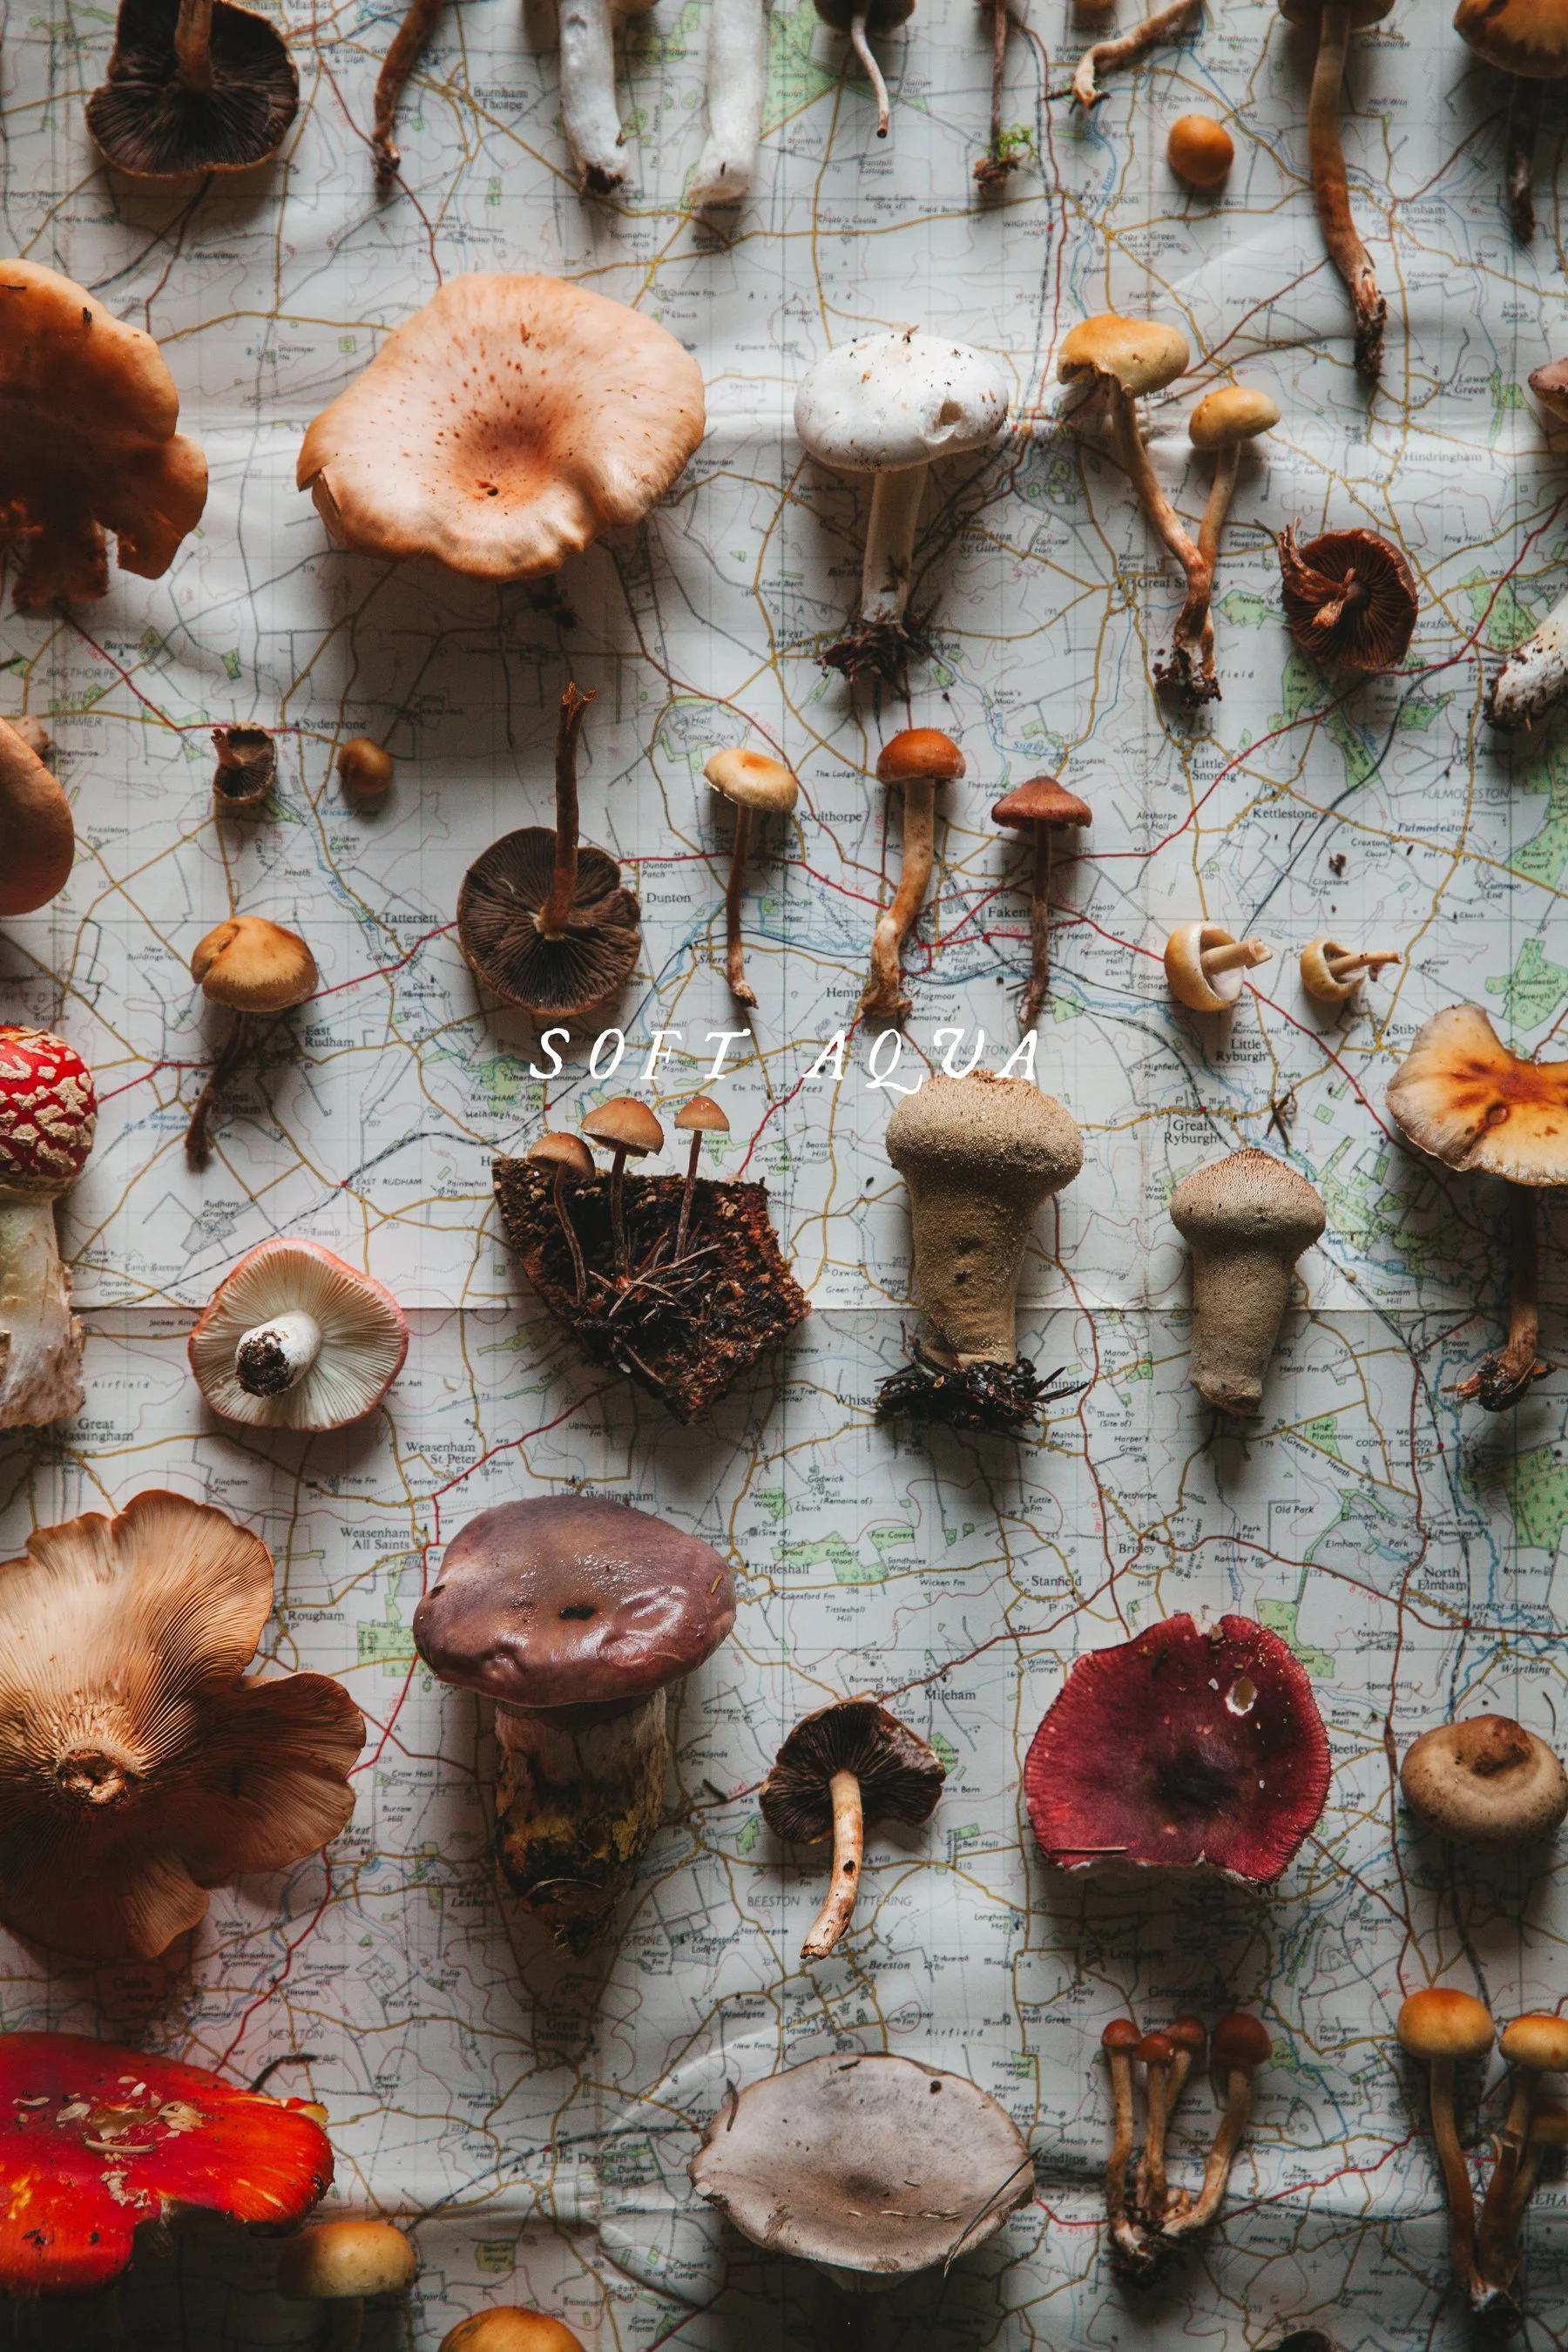
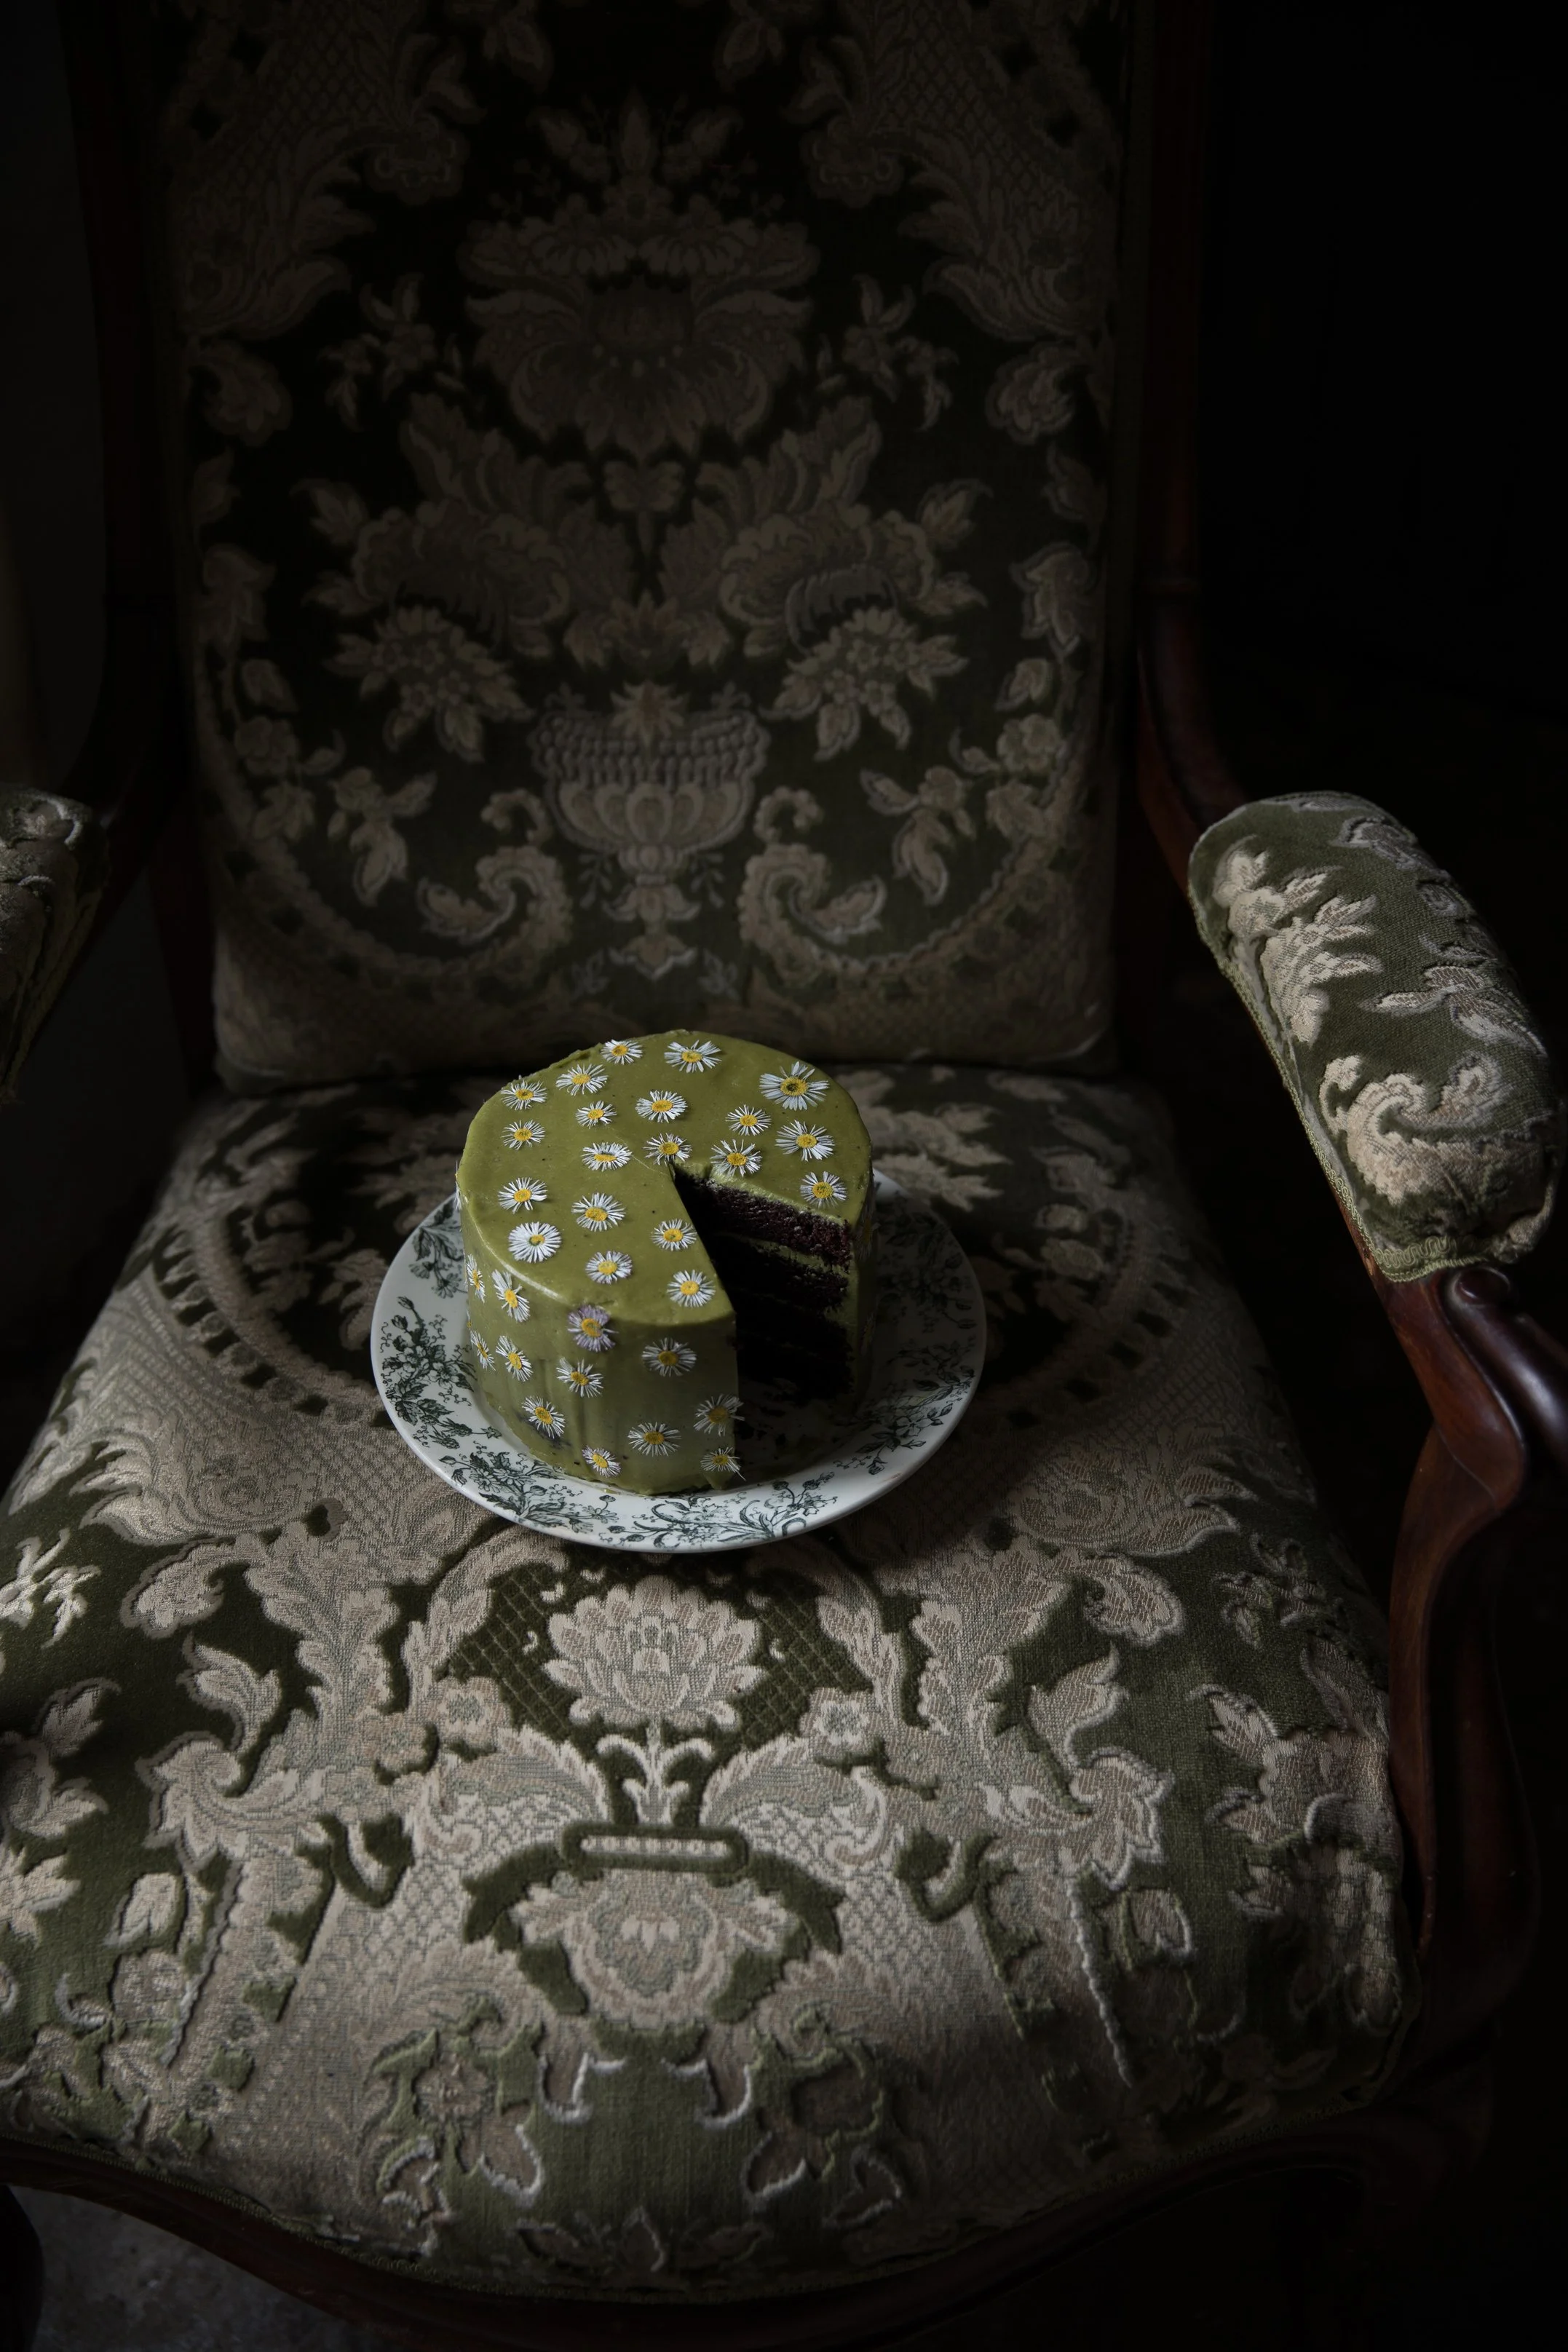
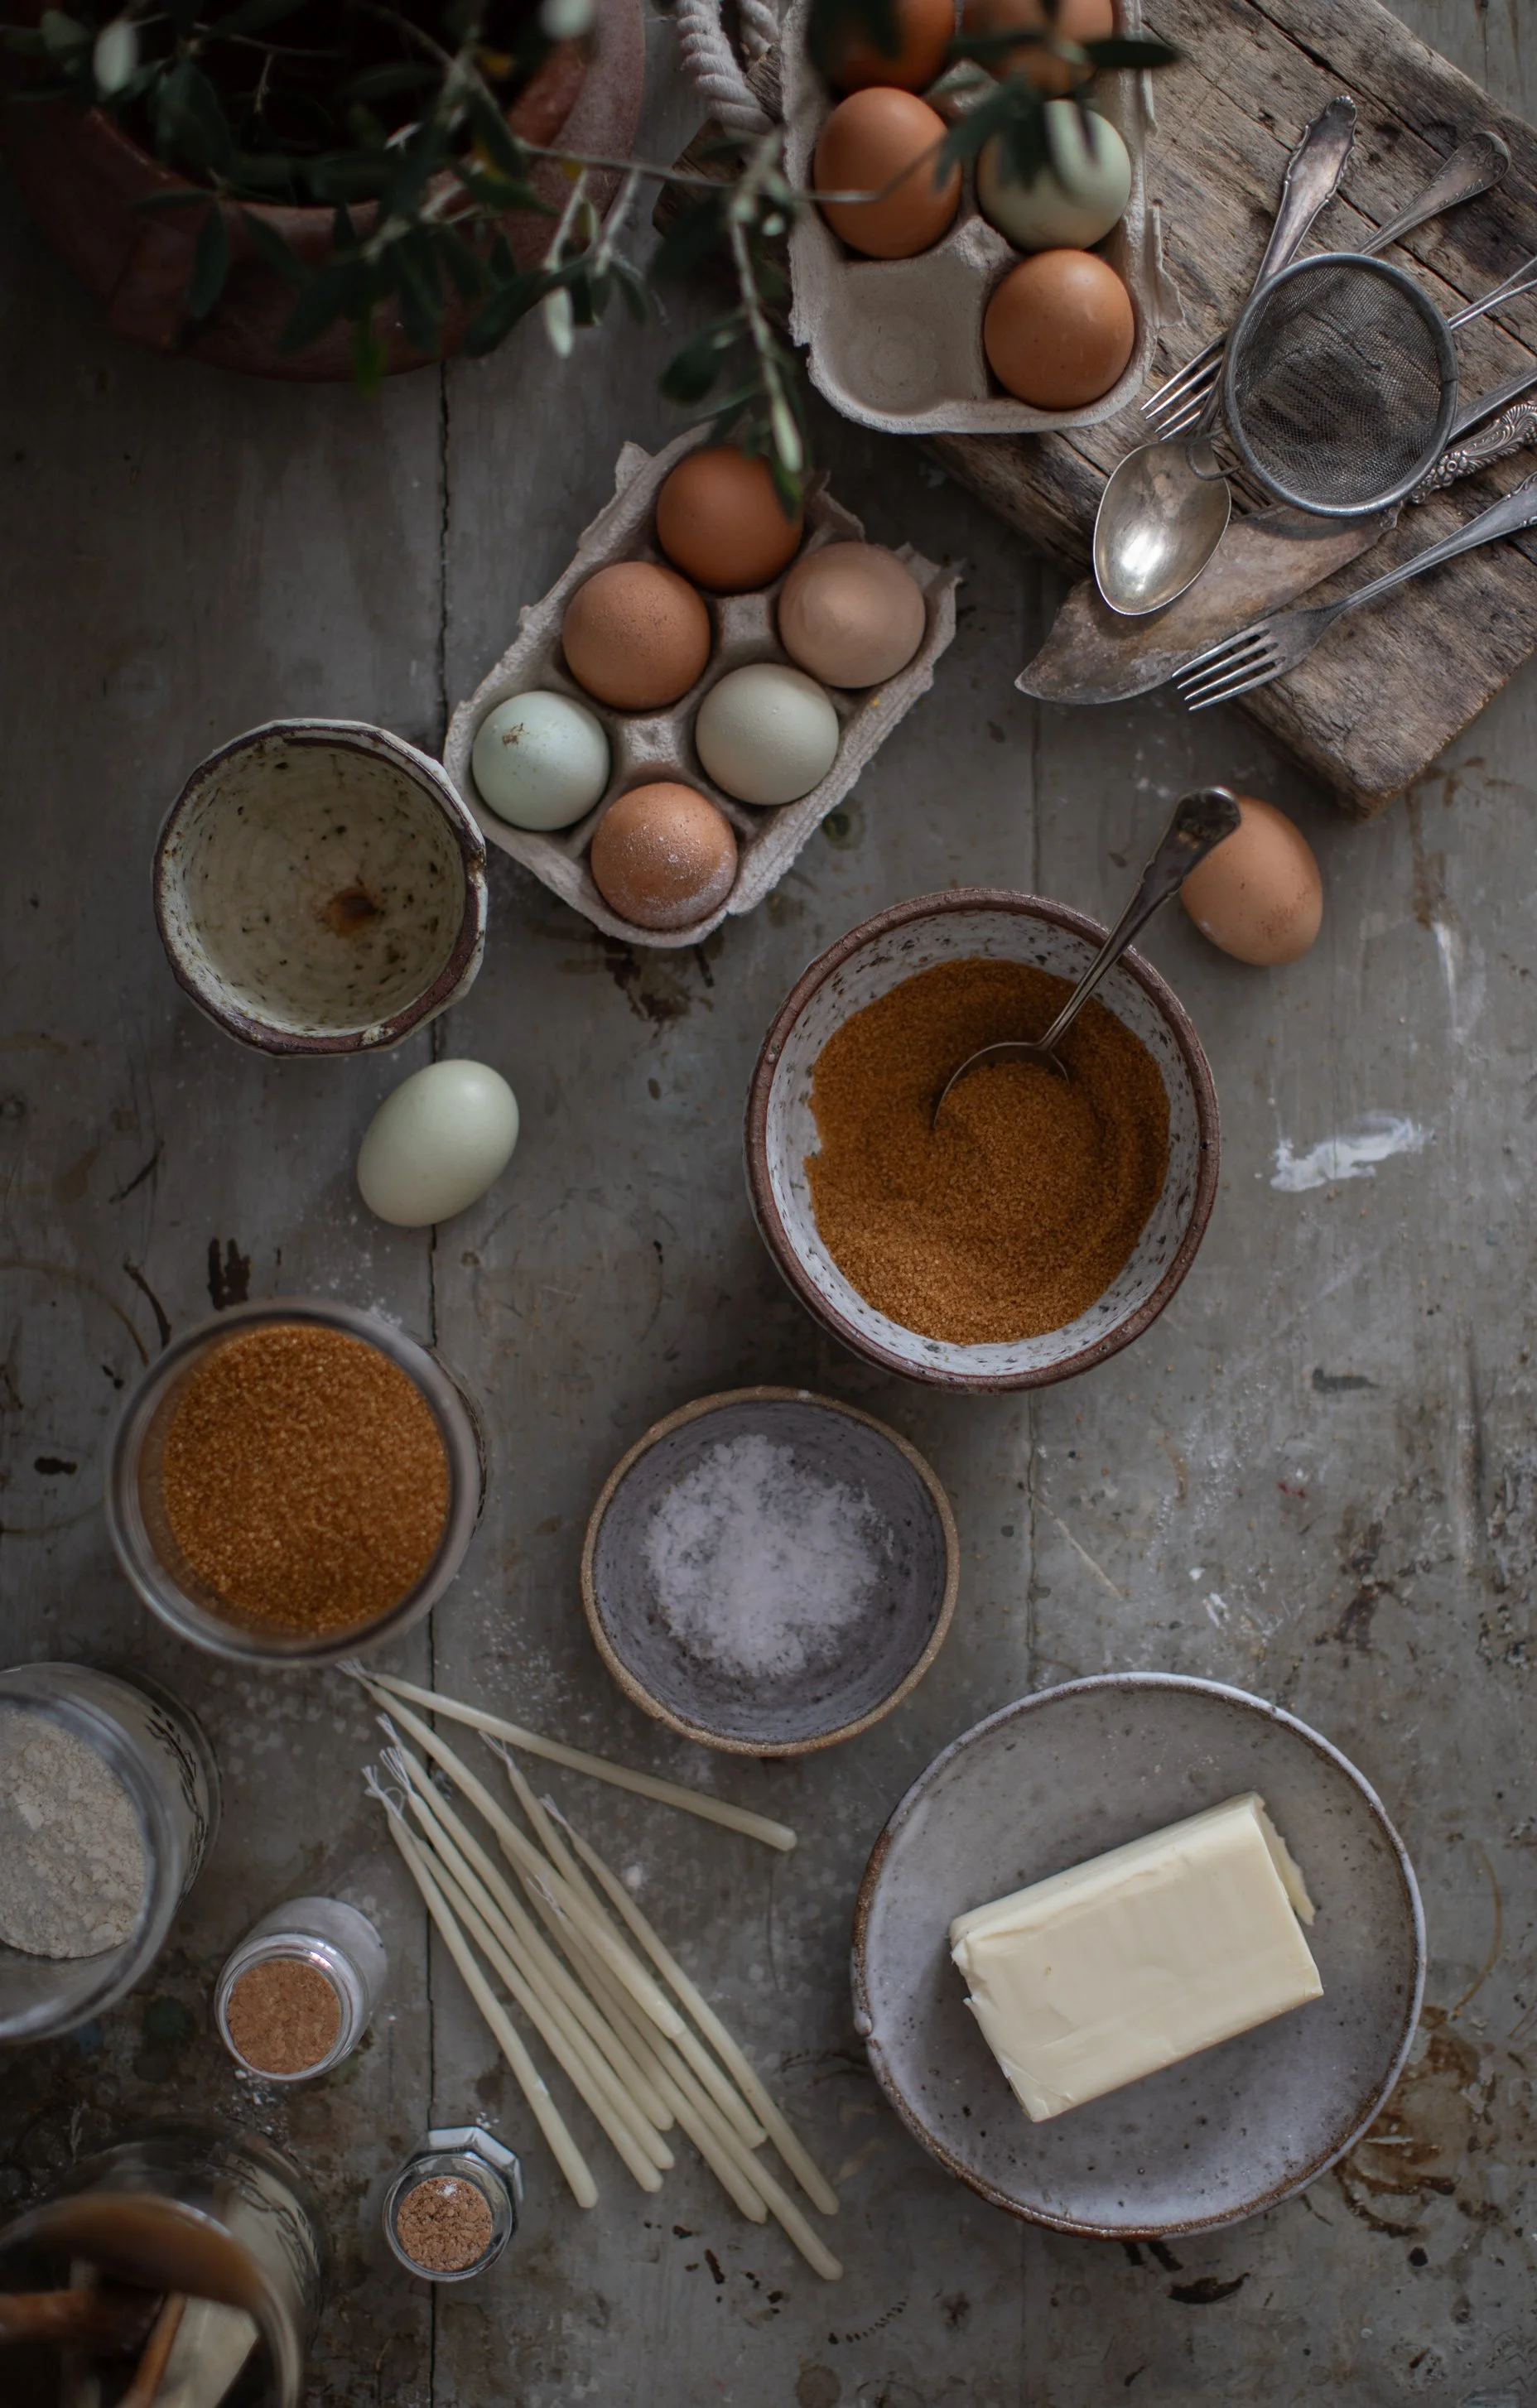
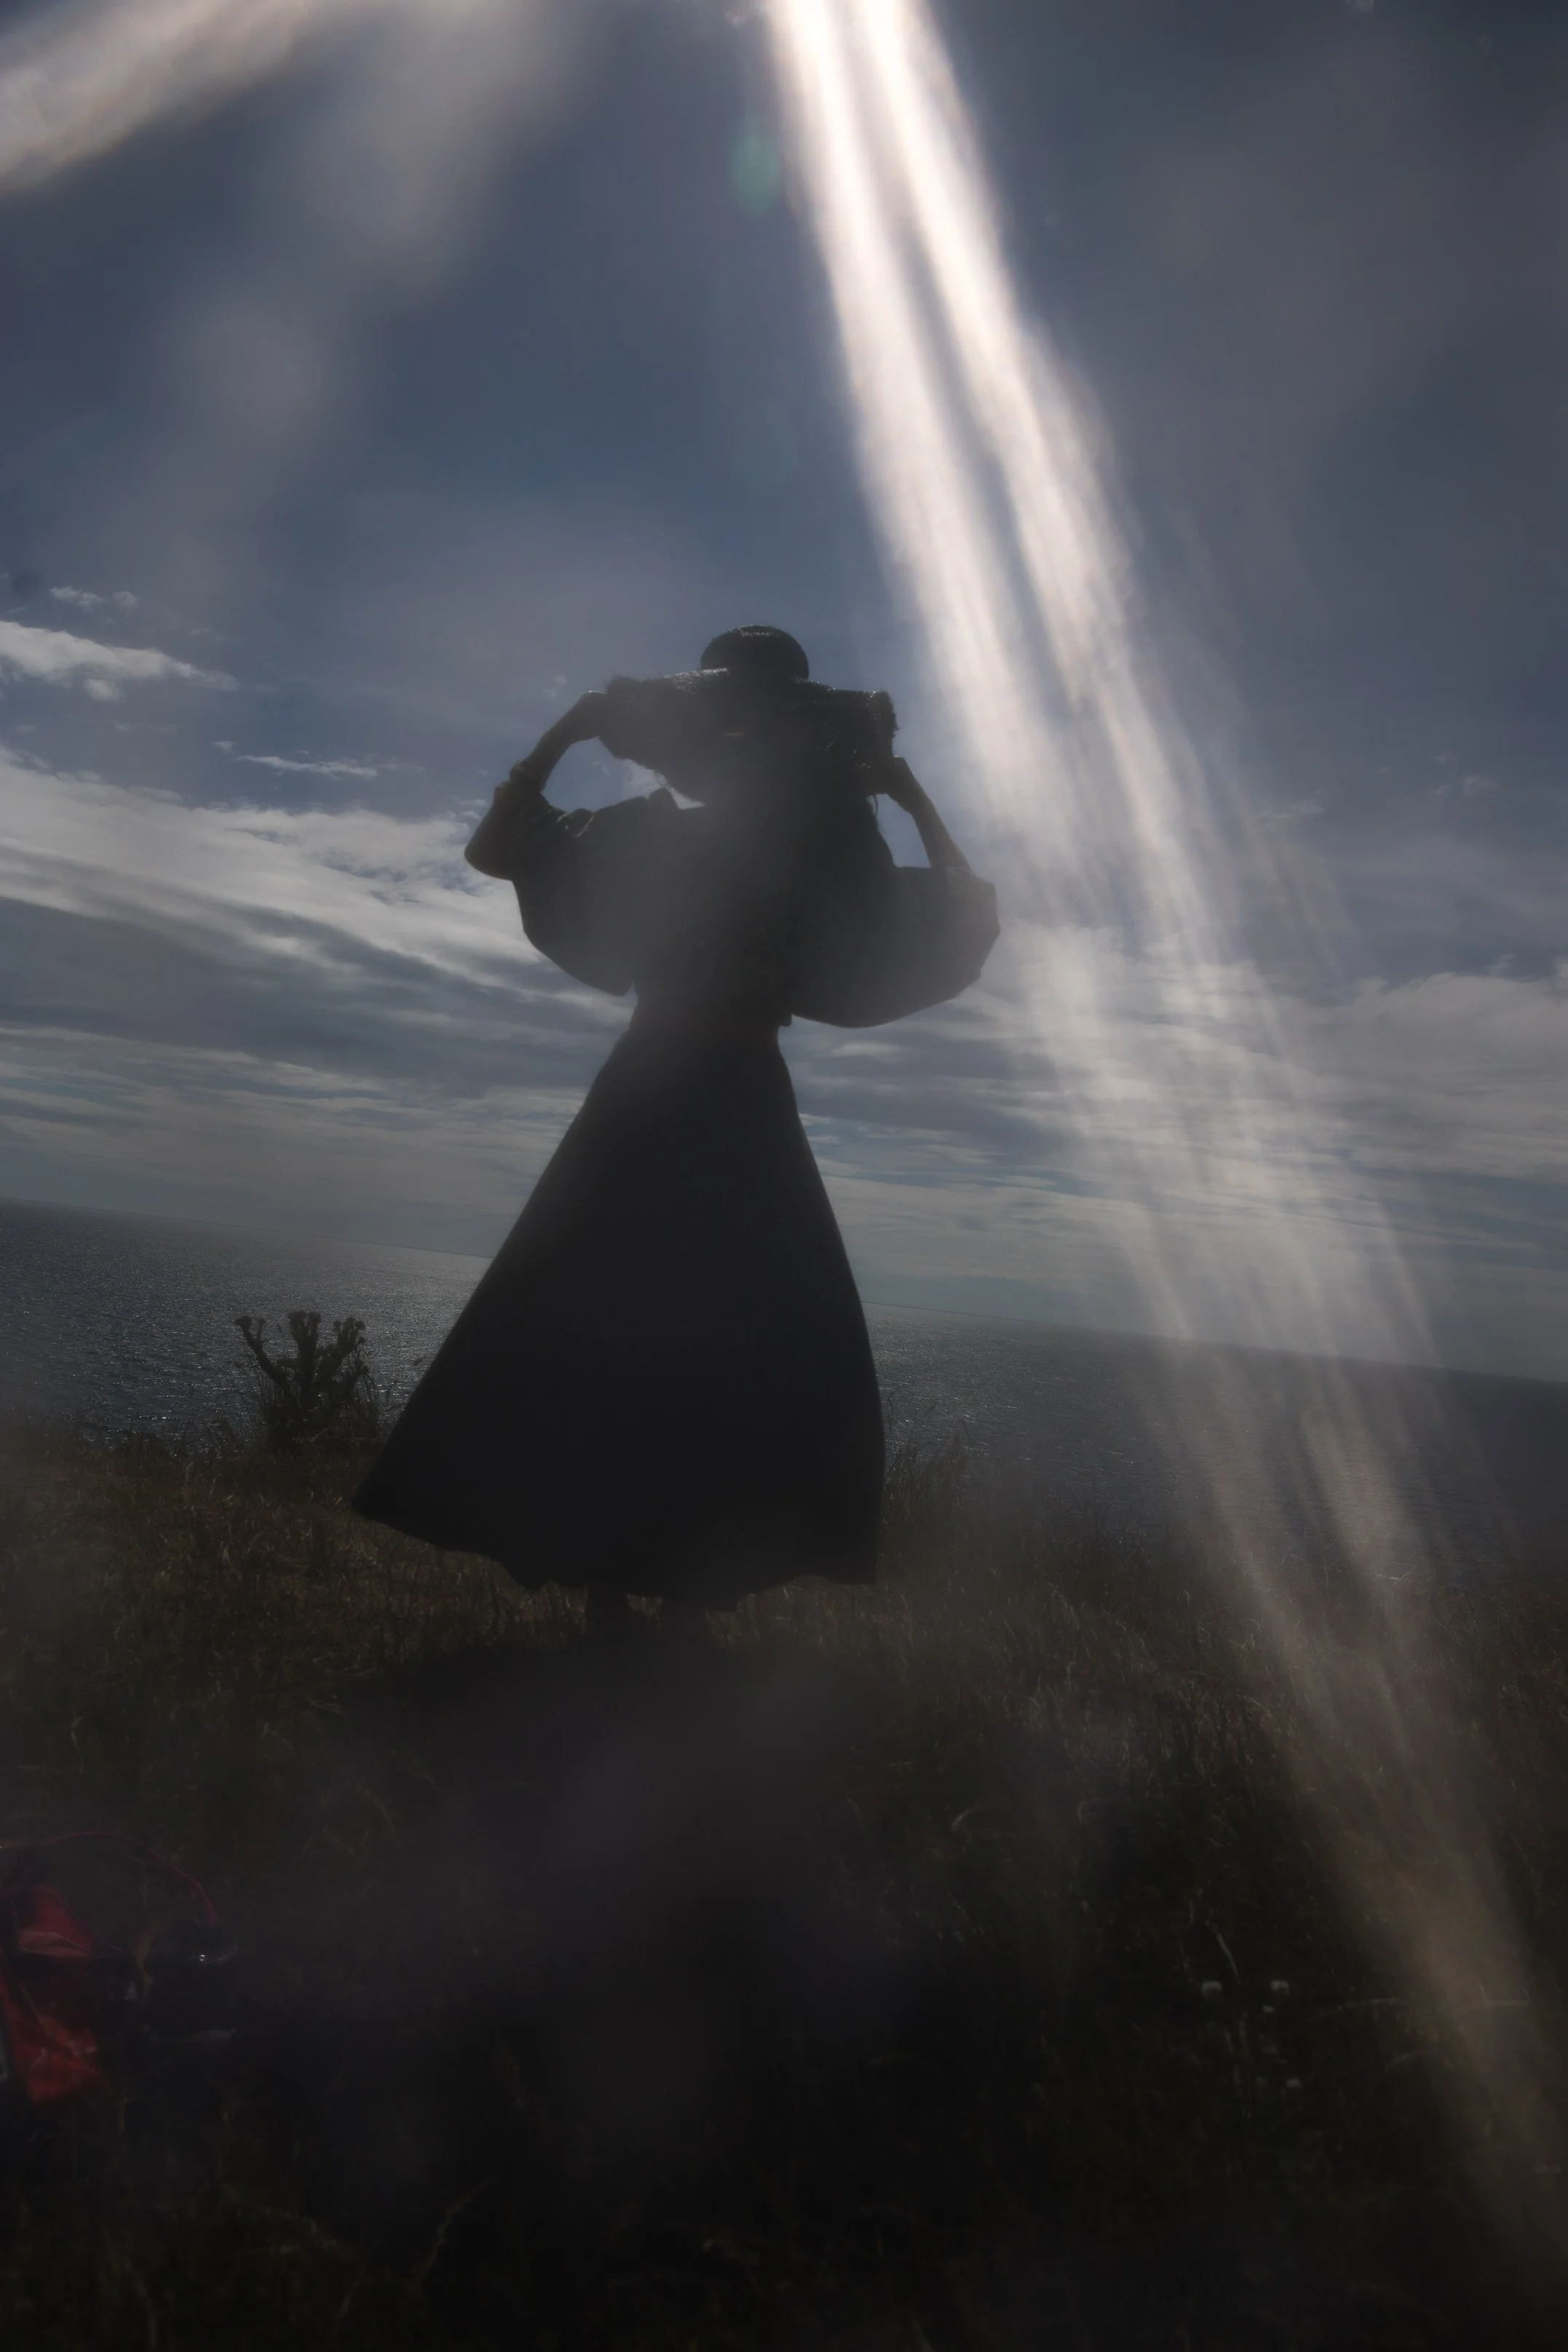
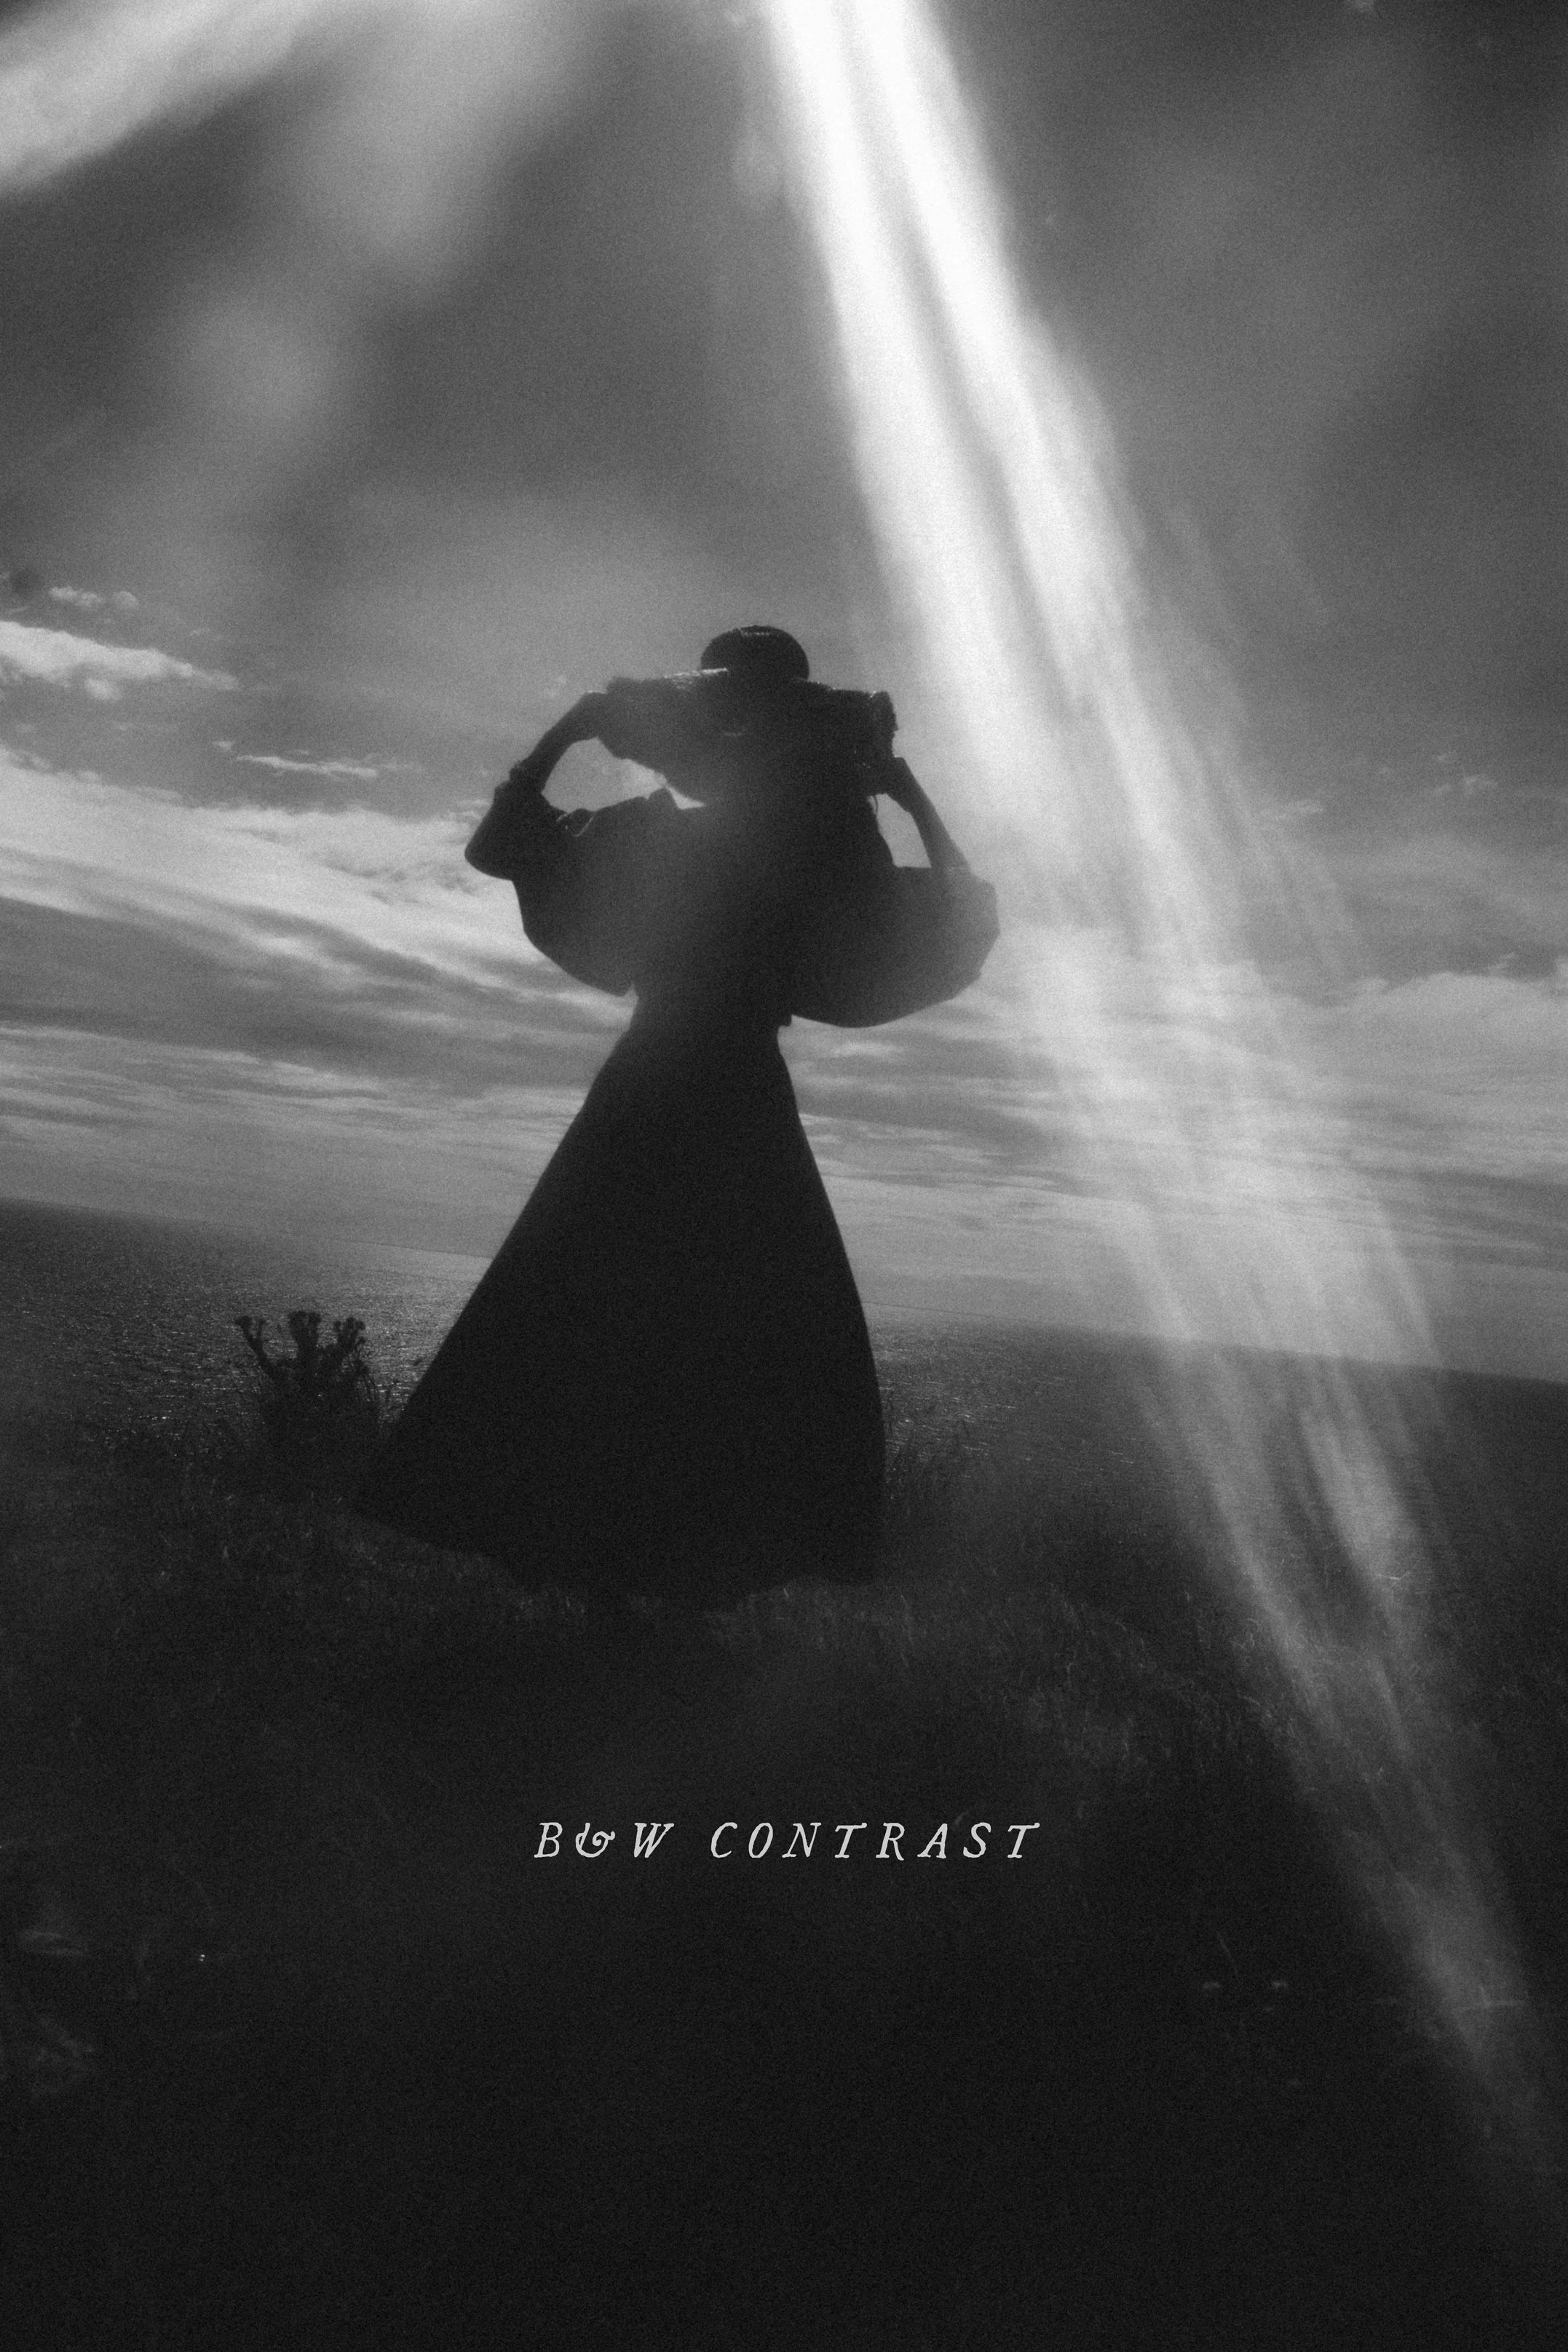
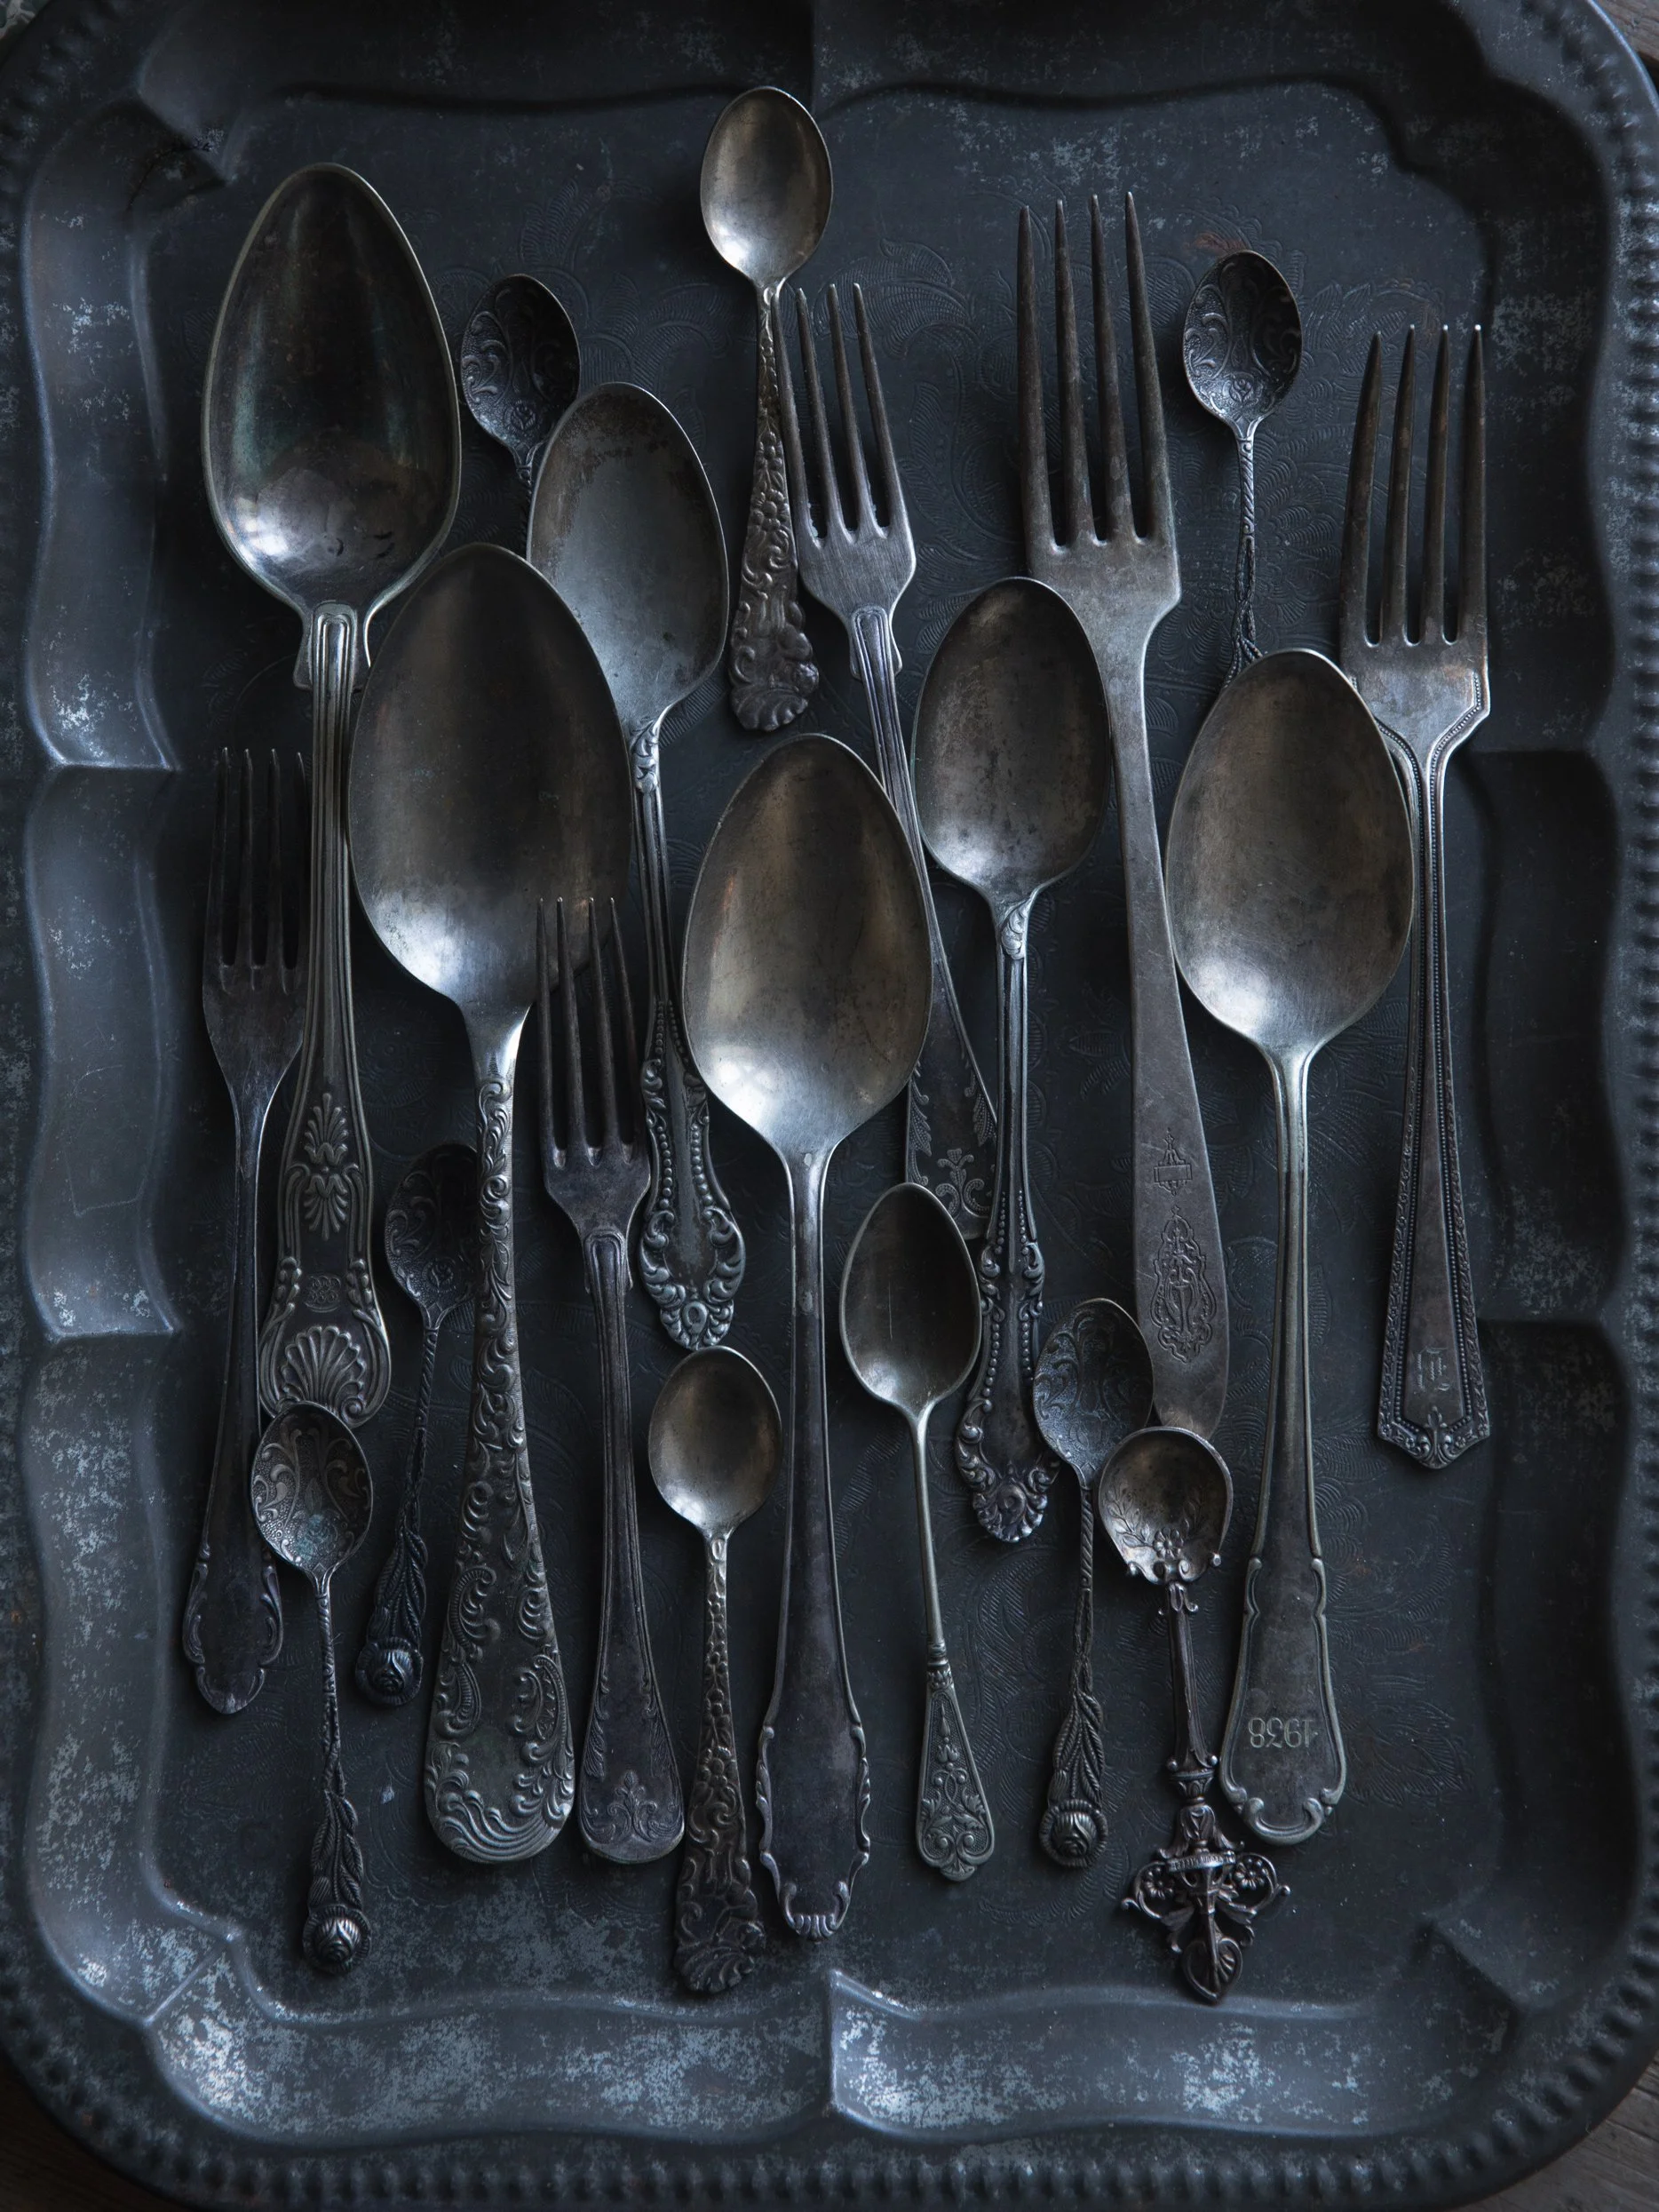
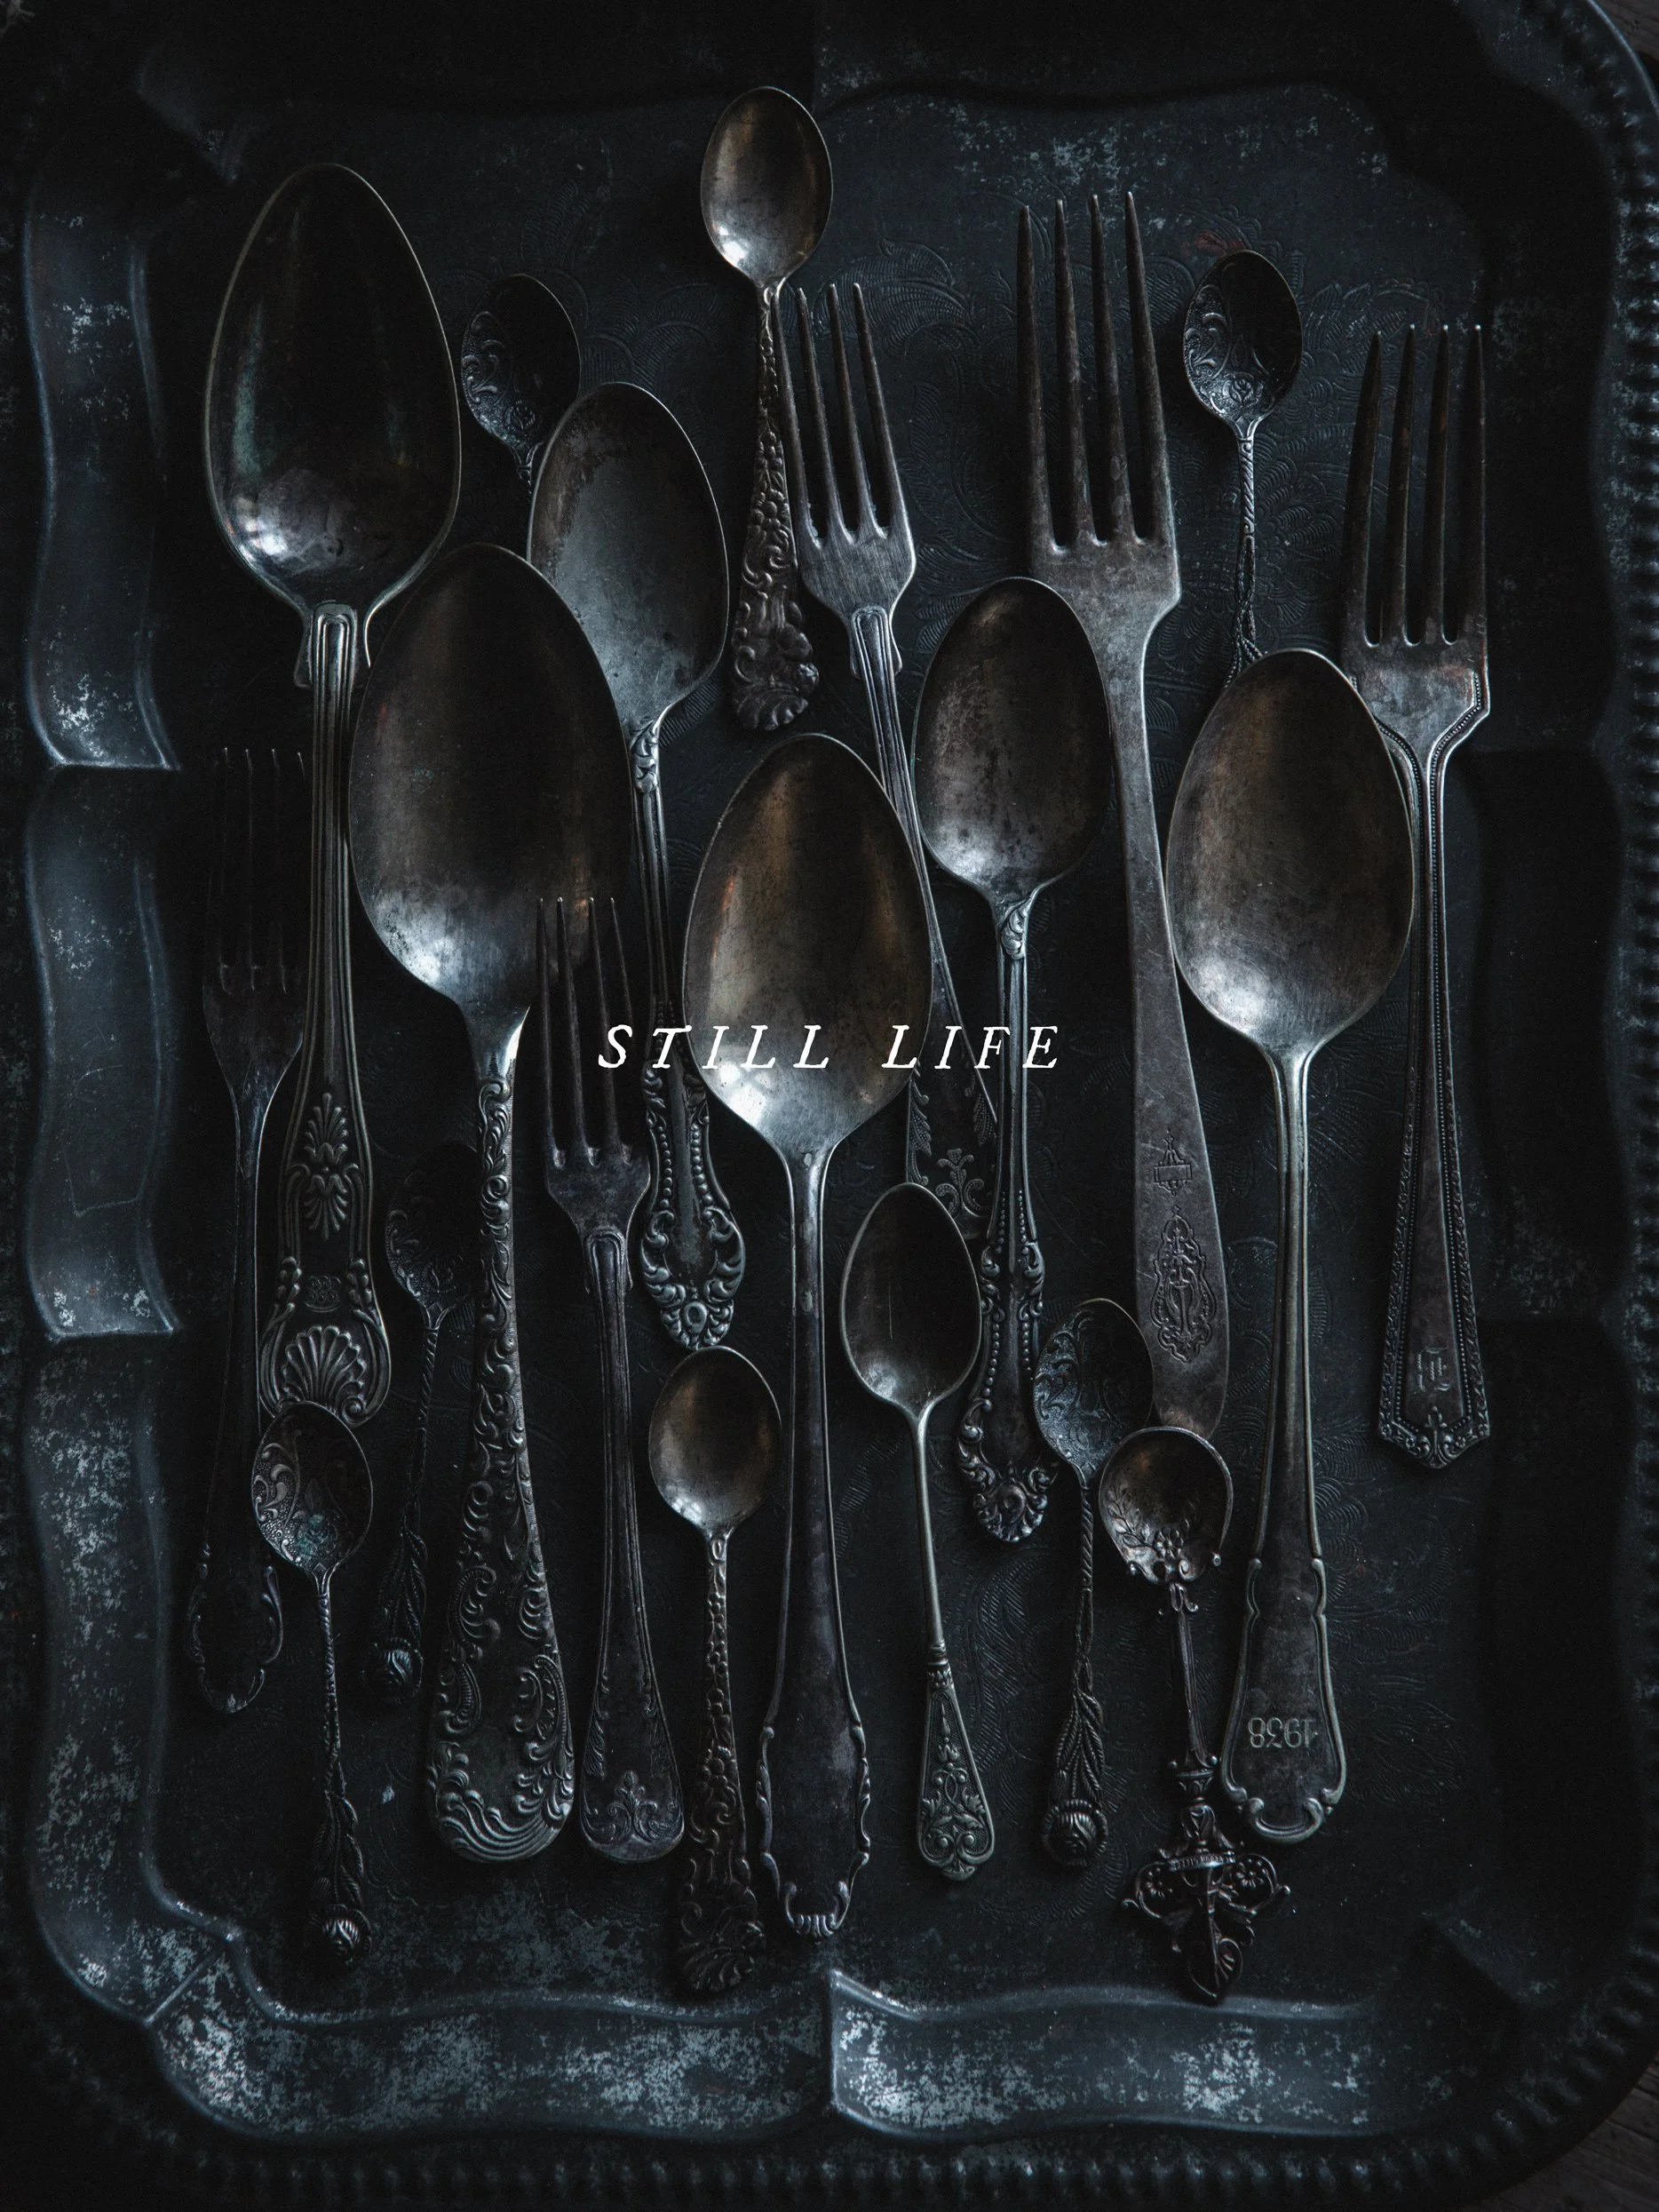
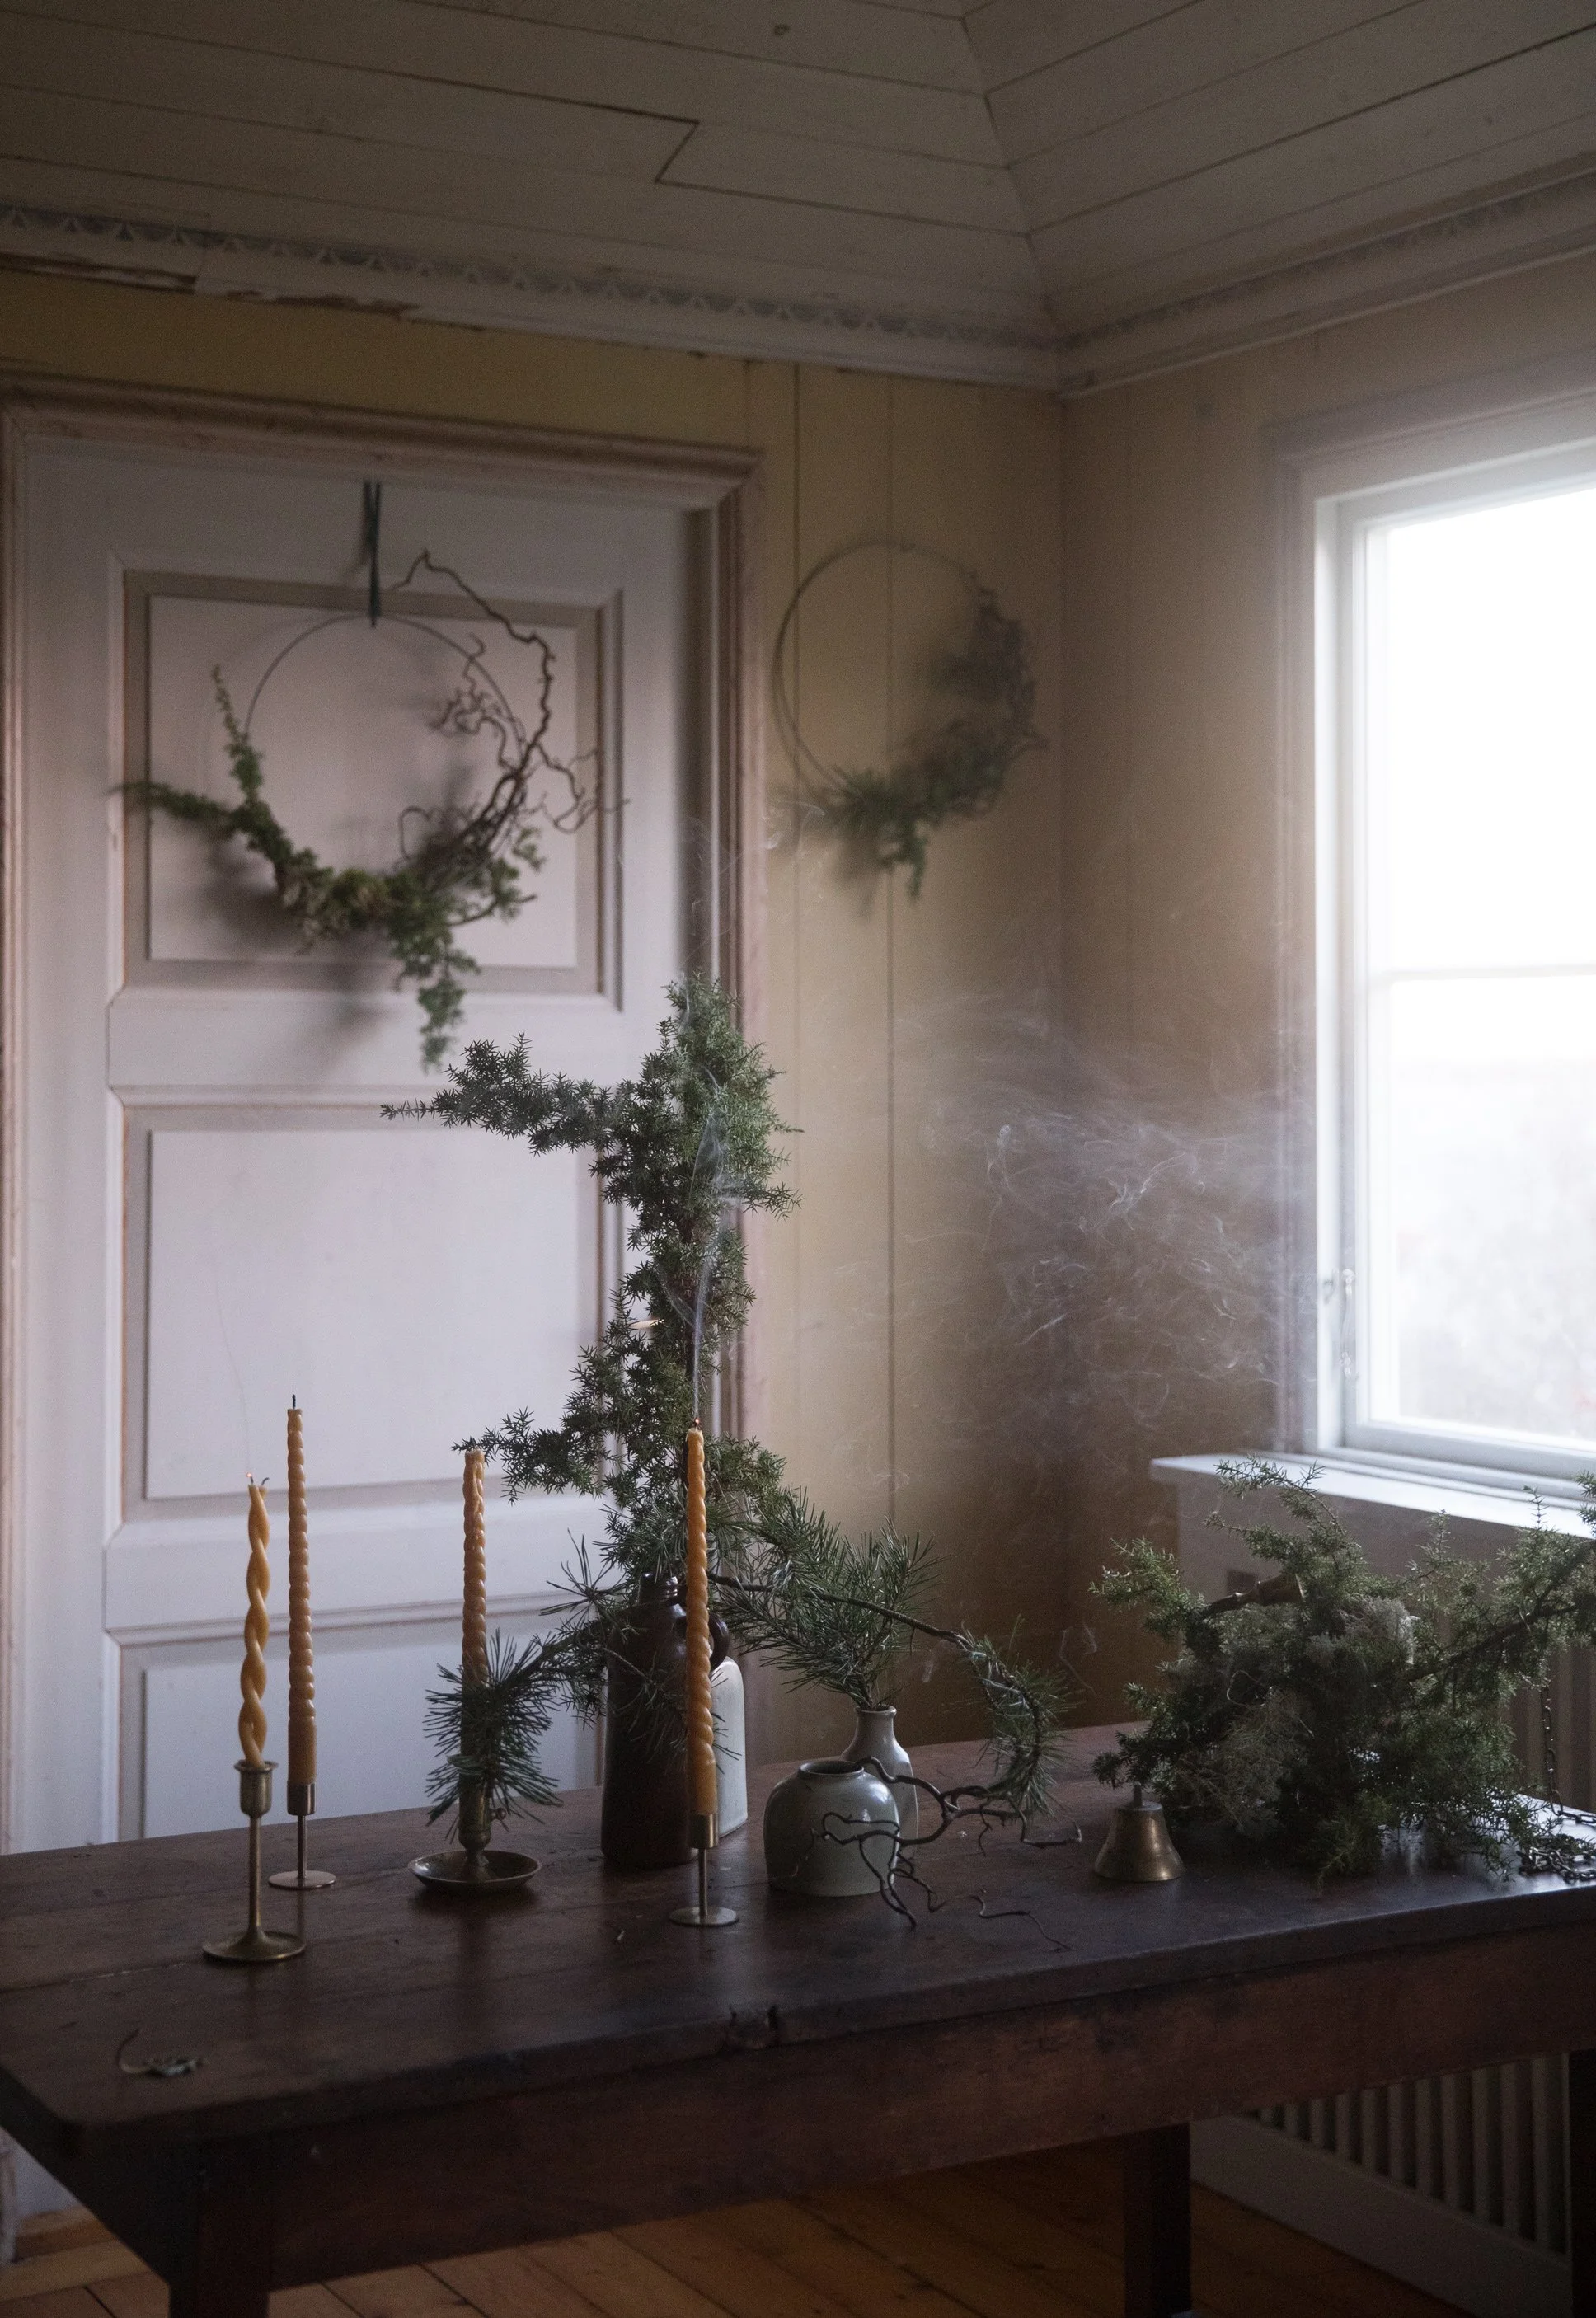
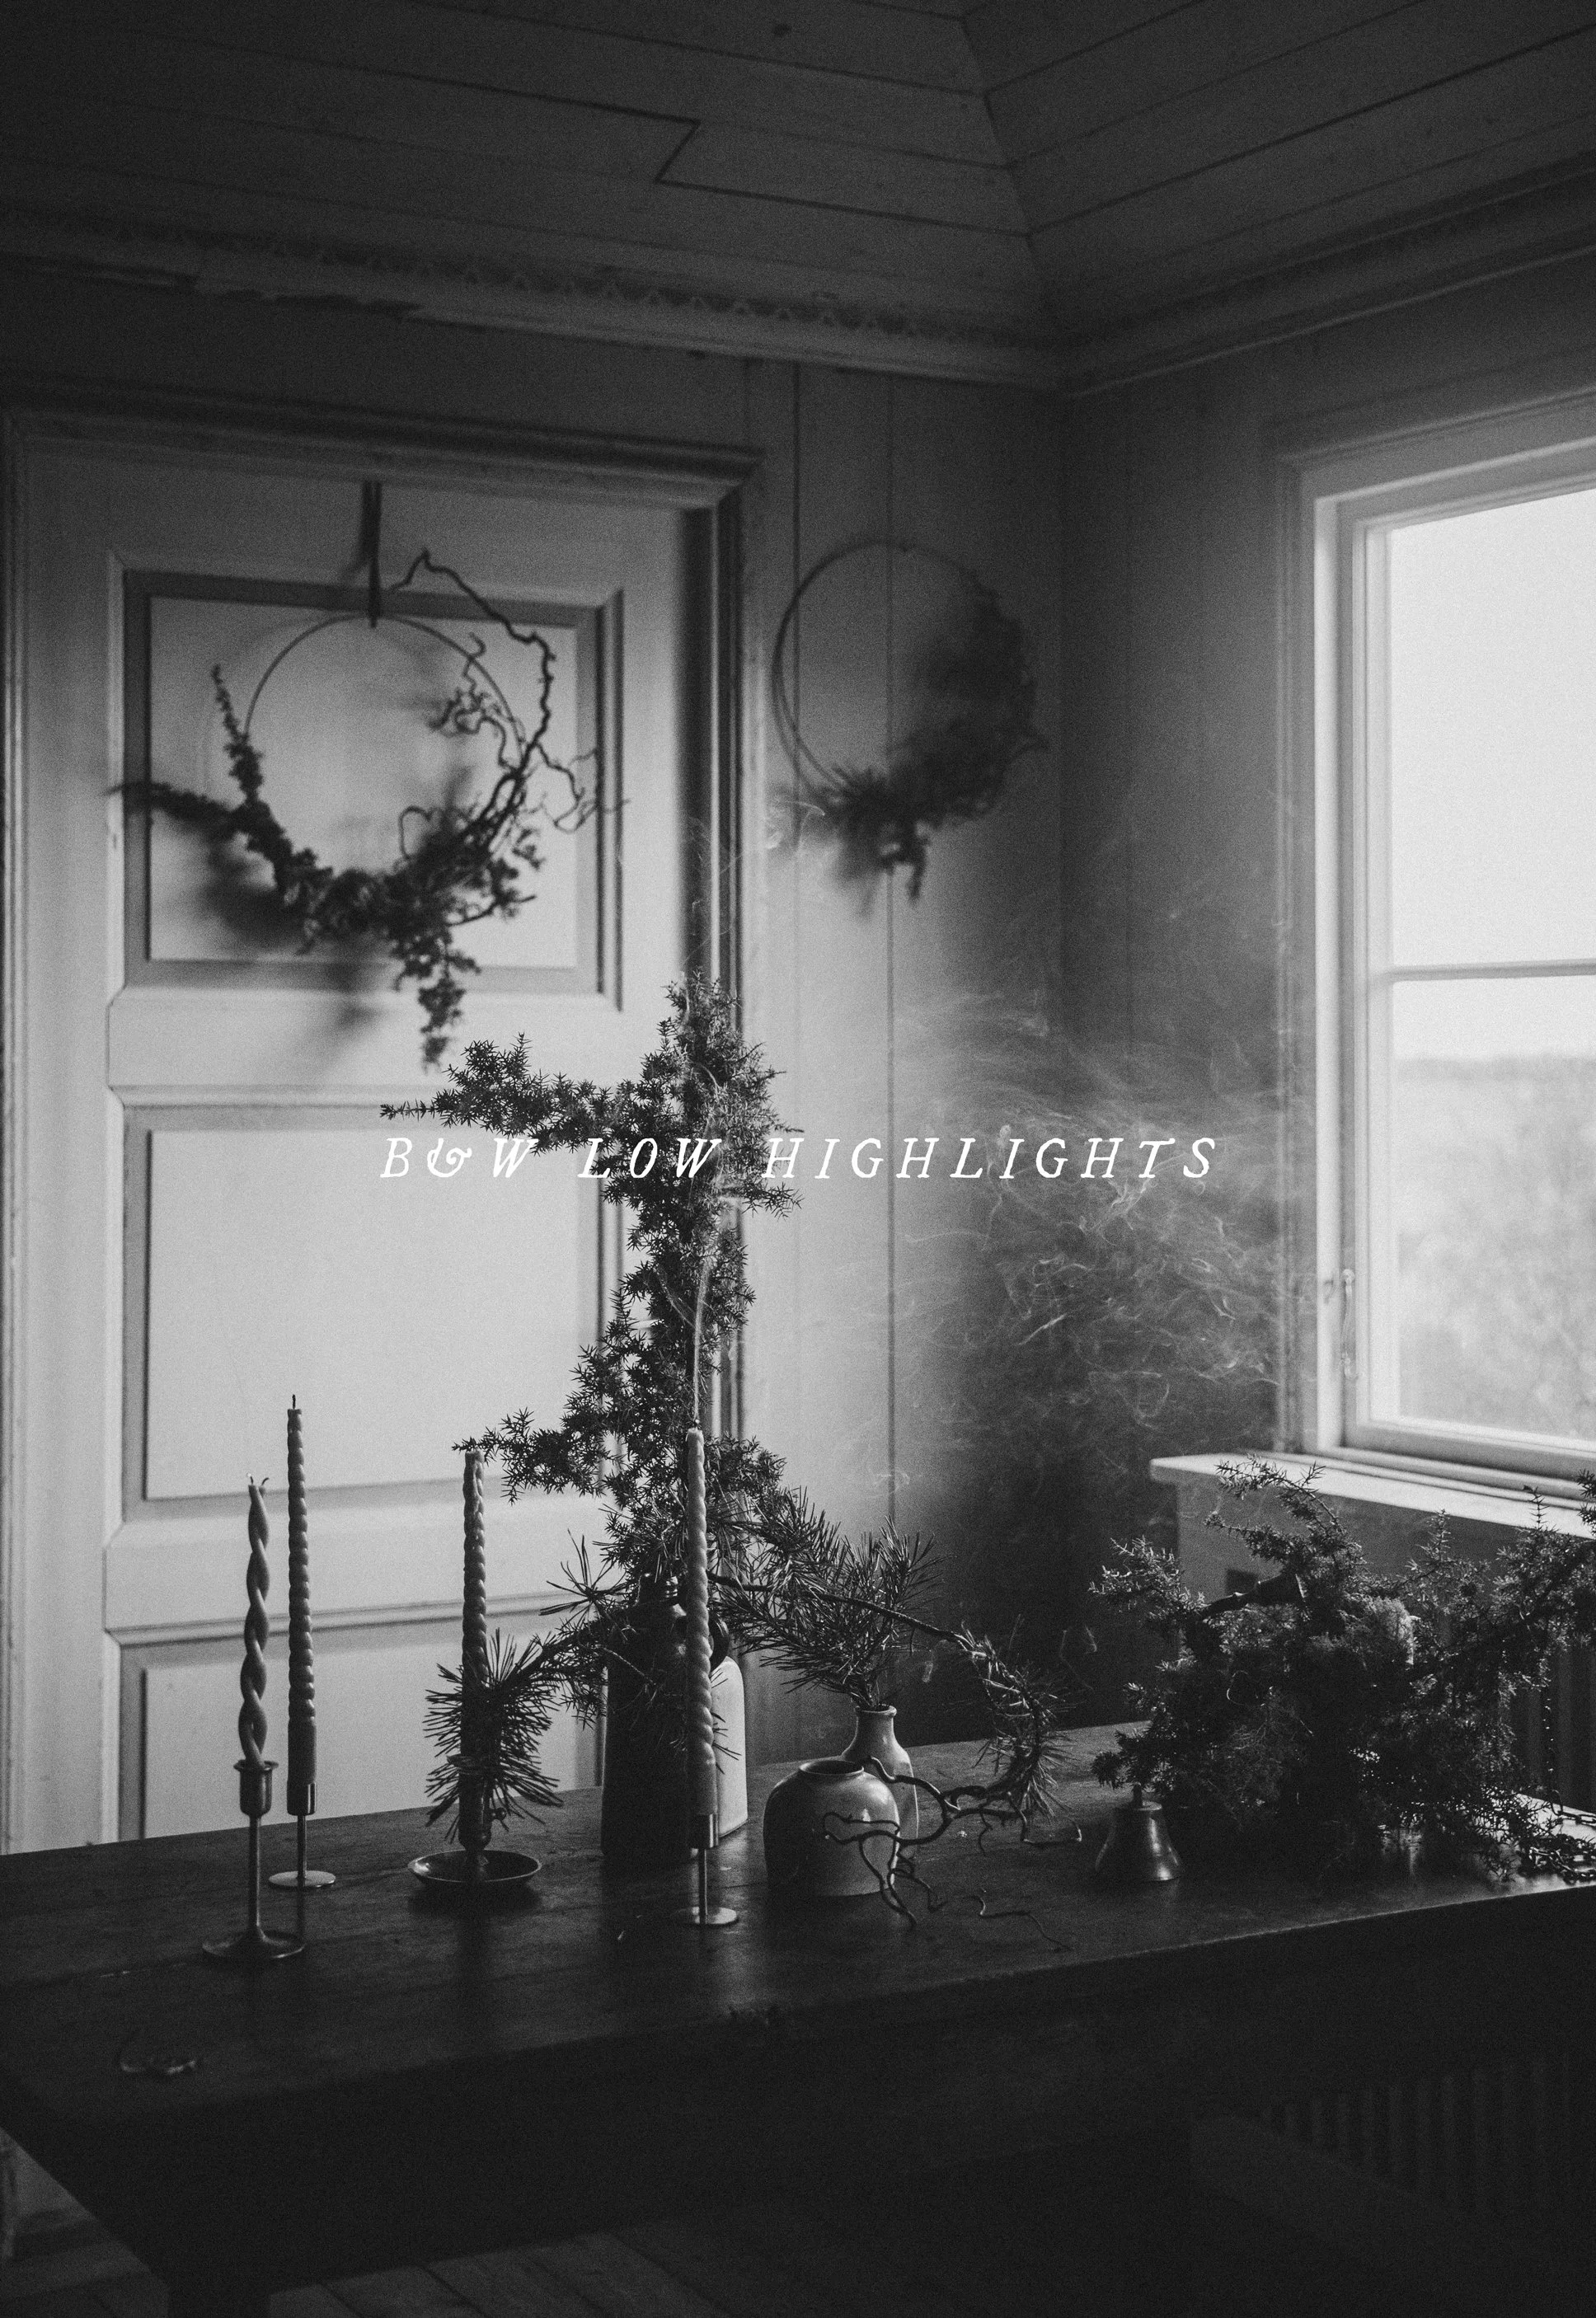
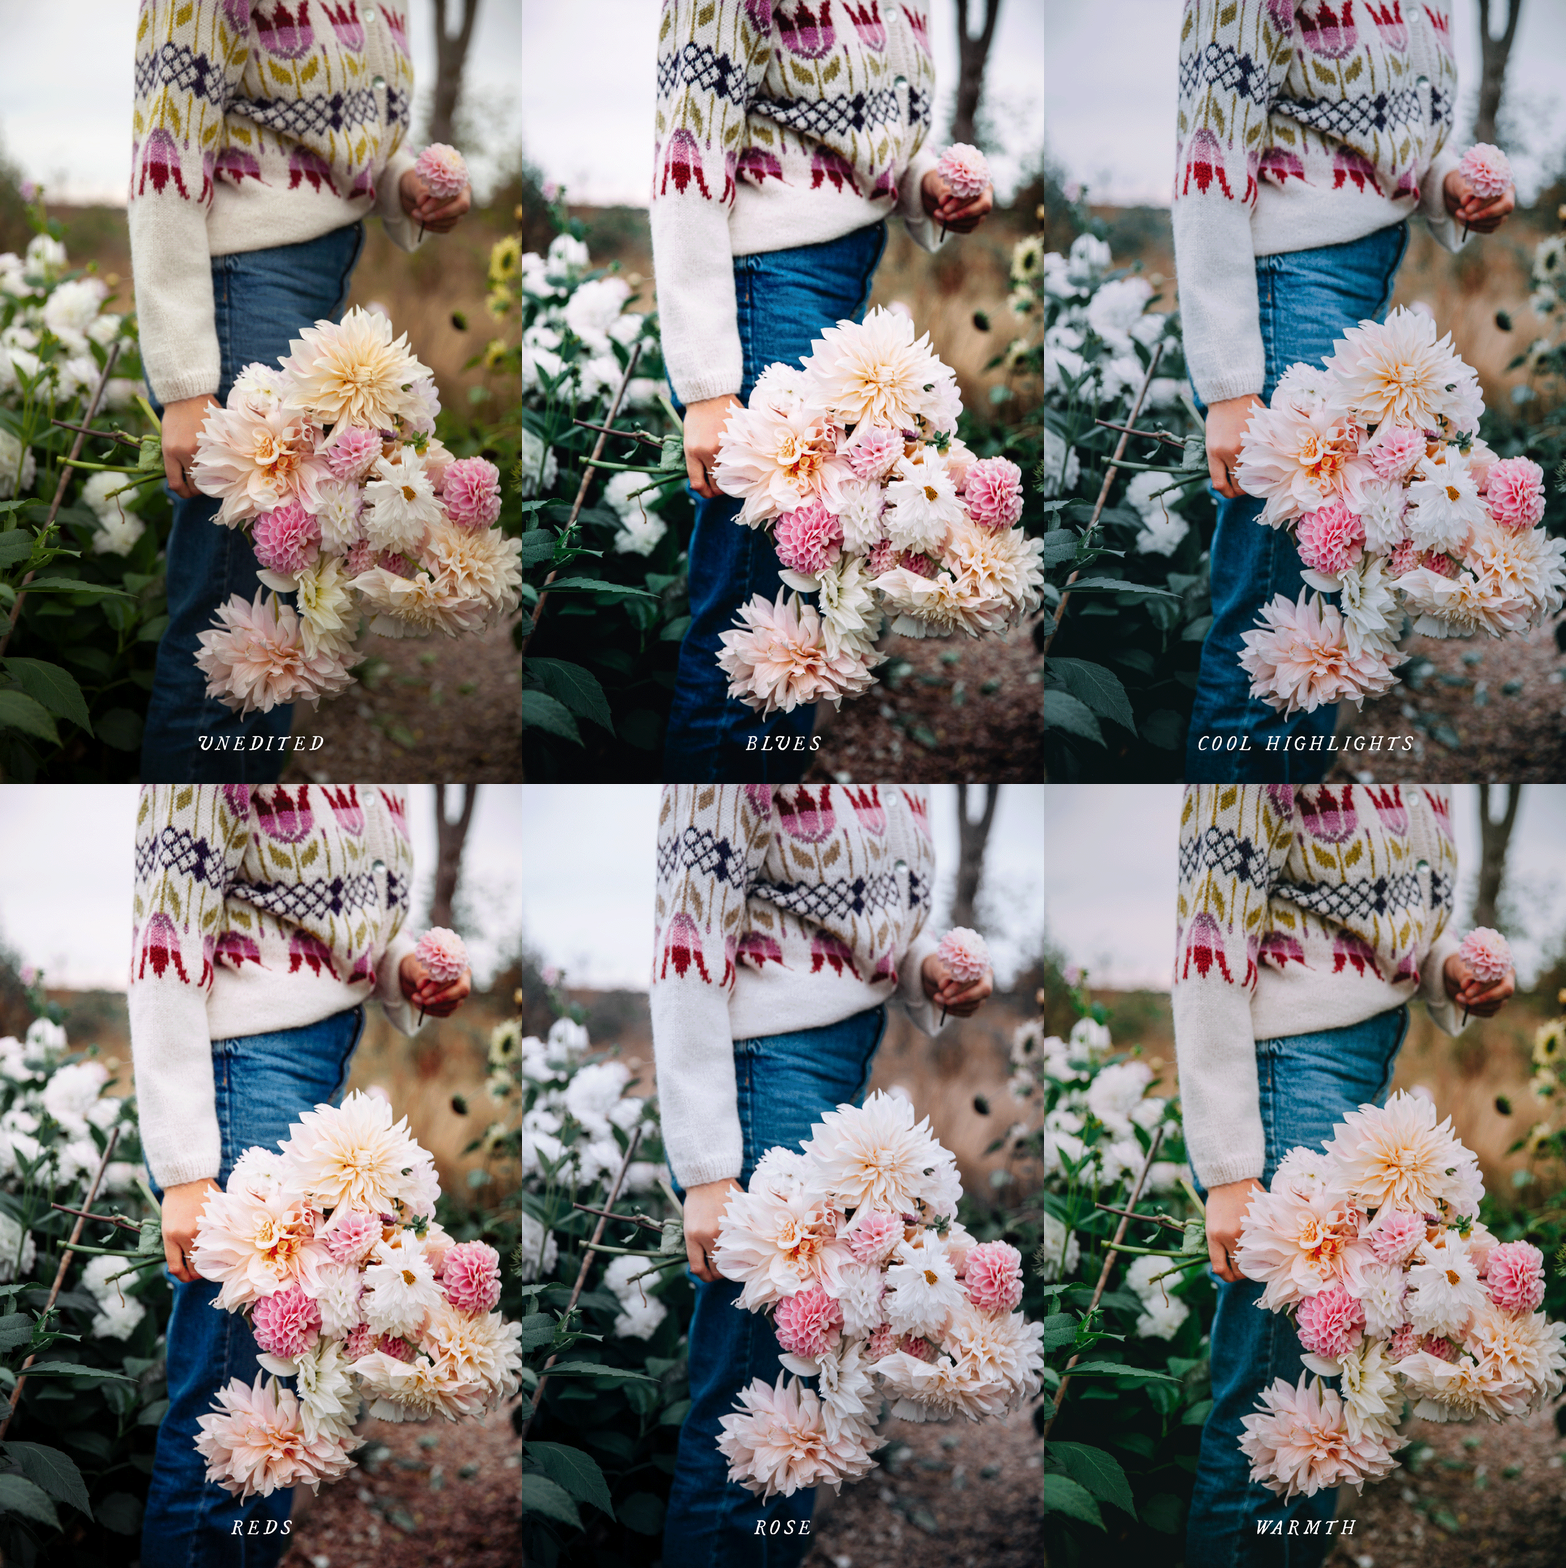
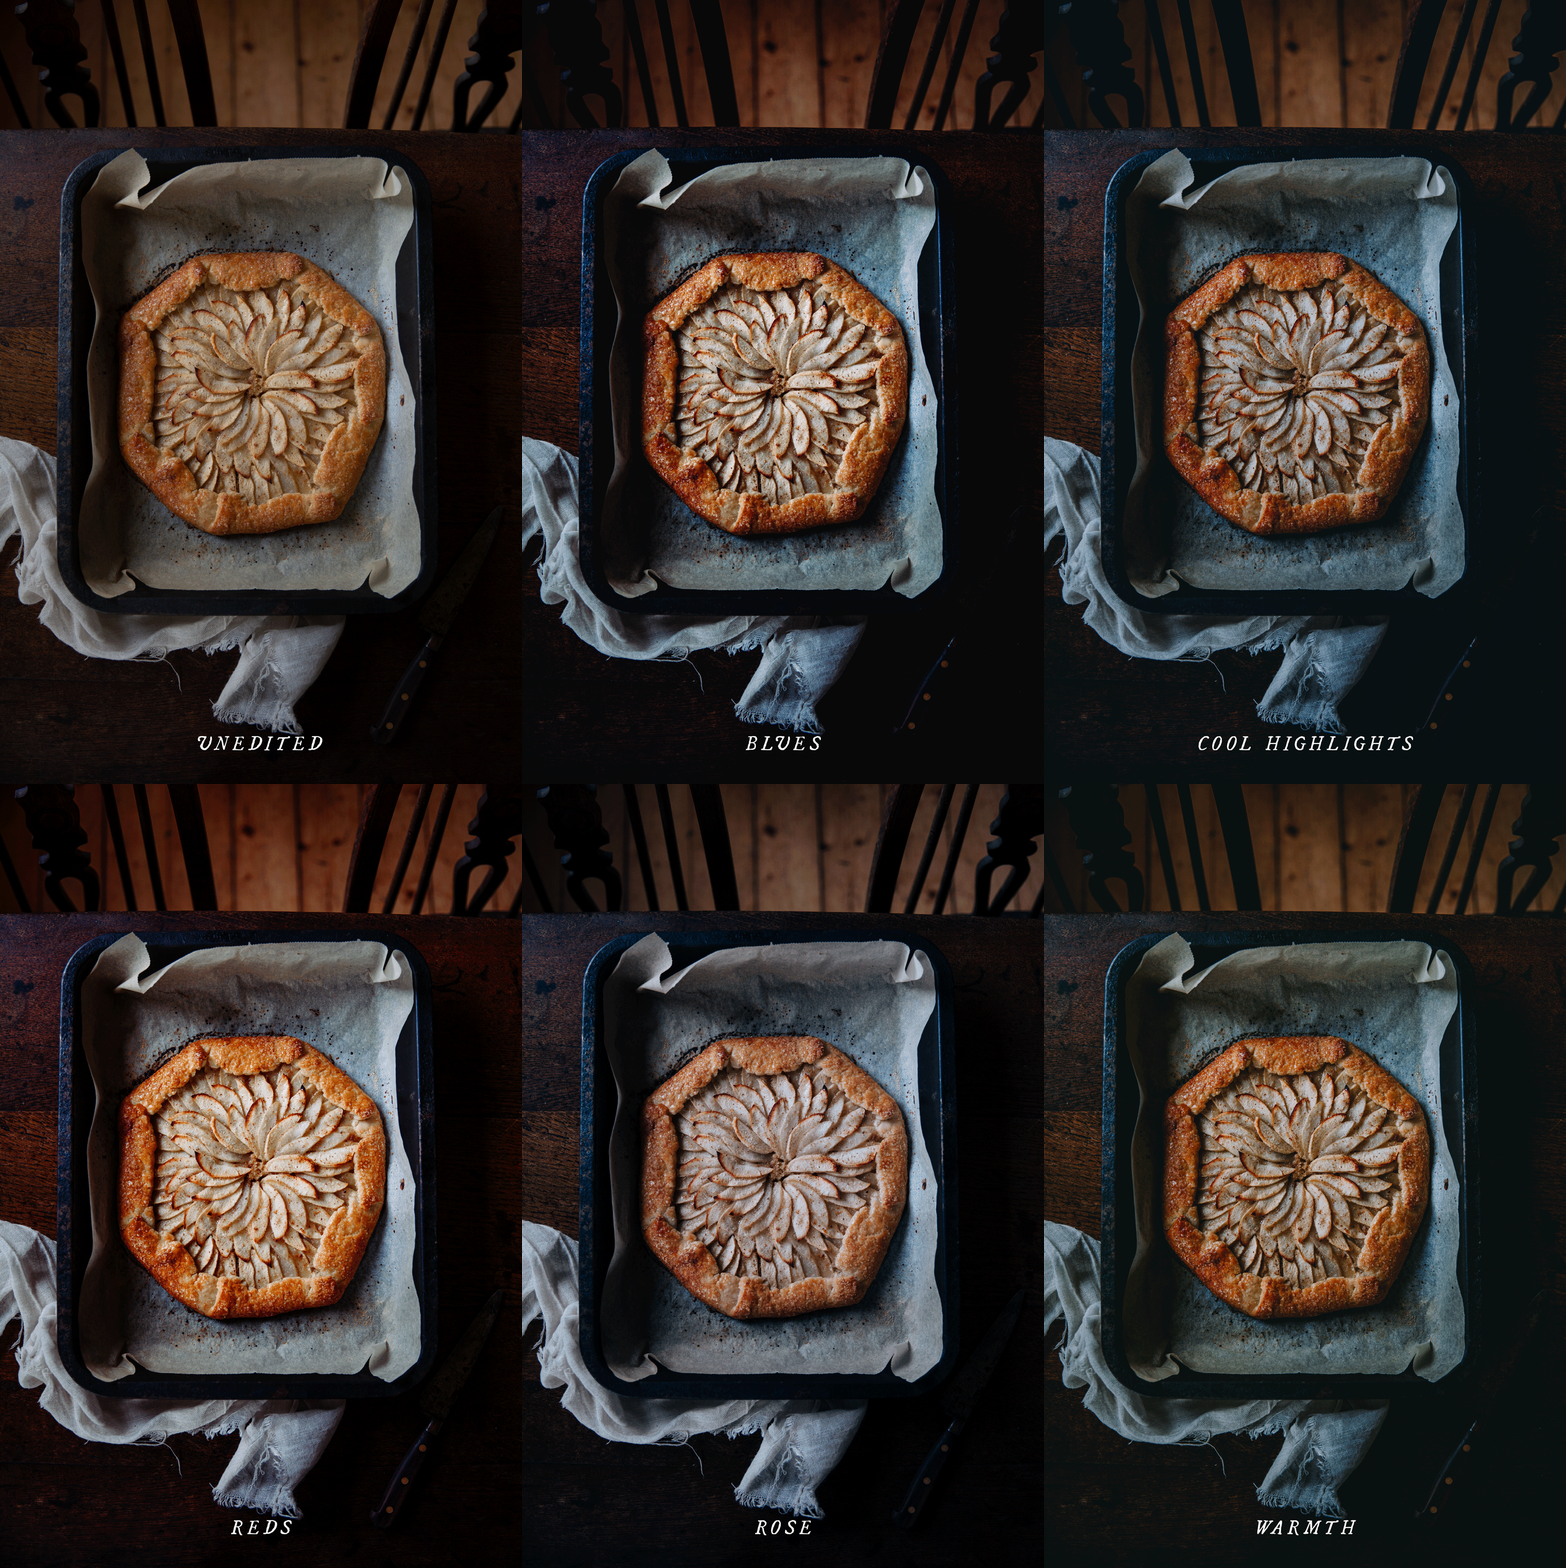
Due to the digital nature of this product, I cannot offer refunds. All rights reserved - you do not have permission to copy the file onto any public network, sell or redistribute these presets to any other person.
HOW TO DOWNLOAD AND INSTALL YOUR MOBILE PRESETS on your phone
Don’t worry if the photo shows up as a grey square in your camera roll, this is completely normal!
Step 1: Make sure you have the Lightroom mobile app installed on your phone
Step 2: Download the presets
Your presets will come in a DNG format. There are several of them so they are in a zip file. First, you will need to unzip that file.
Click the download link on your receipt or the email you get after purchase. The zip-file will start downloading, showing up on the right side of the web address in your browser. When the presets have finished downloading, click the arrow, then click the zip file in the drop down menu. You can unzip the file on your phone in one of the following ways:
OPTION 1: The downloaded Zip-file will now be located in the ‘Files’ folder (one of the apps that usually comes with your phone), and when you click the zip file in the browser it should take you there if you have it installed. Once you’re in the ‘Files’ app - go ahead and click the zip file to unzip it. That will create a folder with the same name next to it.
Click the folder to find the preset files. Click the button with three dots in the upper right hand corner, choose ‘select’ and then choose ‘select all’. Then press the arrow in the box in the lower left hand corner and press ‘Save images’ to save to your camera roll. Now all the preset files should be saved to your camera roll.
When you open your camera roll now, the presets will look like grey squares, but don’t worry about that! You’ll be able to see them once they’re in the Lightroom app.
OPTION 2 - Download the app iZip. It looks like this in app store:
Open iZip, click Document Browser to find the zip file with the presets. Click the zip-file.
Click ‘Yes’ to open and then ‘ok’ to unzip the files.
Step 3: IMPORT THE PRESETS INTO LIGHTROOM
Now, open the Lightroom App and tap the ‘add photos’ button in the lower right hand corner.
If you saved the photos to your camera roll (option 1), choose ‘From camera roll’. If you saved them in iZip (option 2), select ‘From Files’ and then navigate to 'iZip’. Now let’s add the presets to Lightroom! Either select the grey squares one by one or click the three dots in the upper right hand corner and click ‘Select mode’ - this will enable you to add several files at once.
Once added to Lightroom, the easiest way to find the presets is to go to ‘Recently added’. You will need to save each one of the files as a new preset. Select the preset photos one by one and do the following things.
Once one of the photos are open, press the three dots in the upper right hand corner and click ‘Create preset’
This will pop up (see below). Make sure all the boxes are ticked like in the photo (for example if in ‘Light’ there are only 2/3 boxes ticked, go in and tick the last one too). Name the preset and save it where you wish and then click the checkmark on the upper right hand side to save it. Repeat this step for each DNG file because you will need to save each preset separately, using different names. To use your new presets, simply import an image to edit. Tap the presets icon in the bottom menu and choose which preset you’d like to apply to your photo. The main two things you will find yourself adjusting is “Exposure” which is under the “Light” menu and “Temp” which is under the “Color” menu, but with some images you will need to make further adjustments. Once you’ve downloaded your file, upload the zip folder to iCloud, Google Drive, or Dropbox to save them in a secure spot should you lose them or your device crashes. Enjoy!

